Стойка для брони

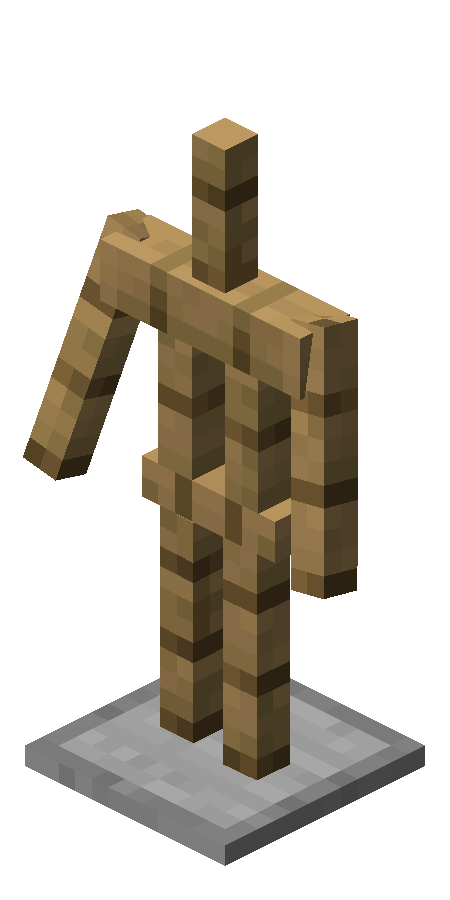
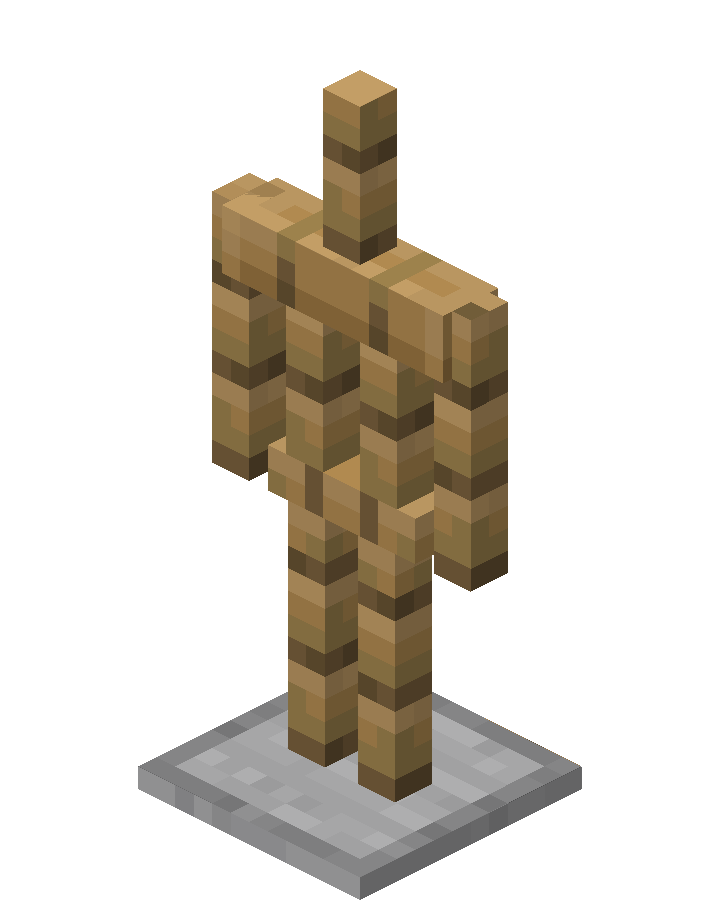
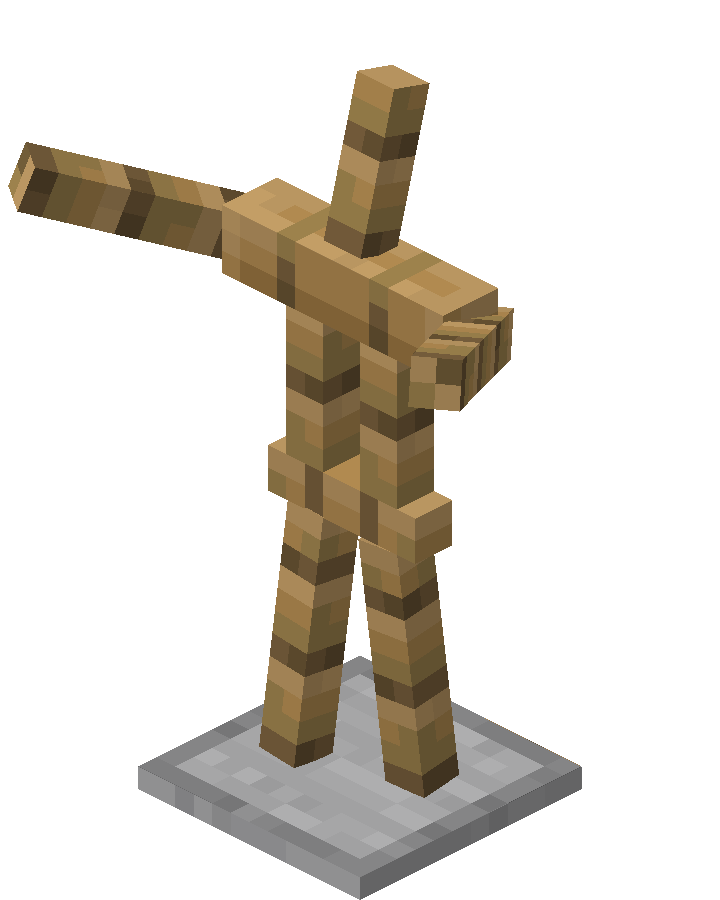
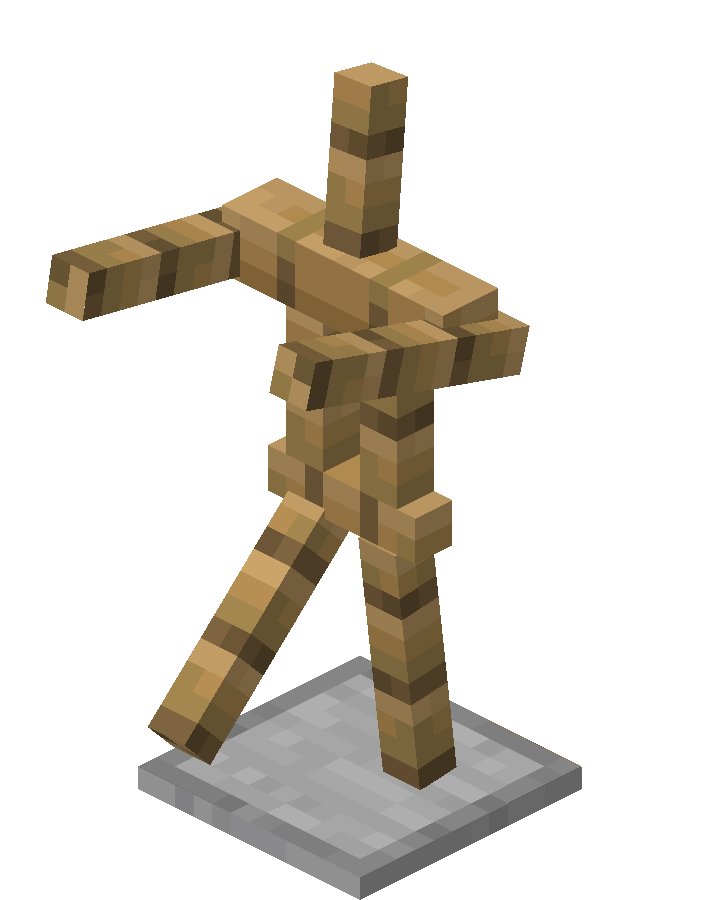
Стойка для брони Как сделать стойку для брони в Майнкрафт | Скриншот 1

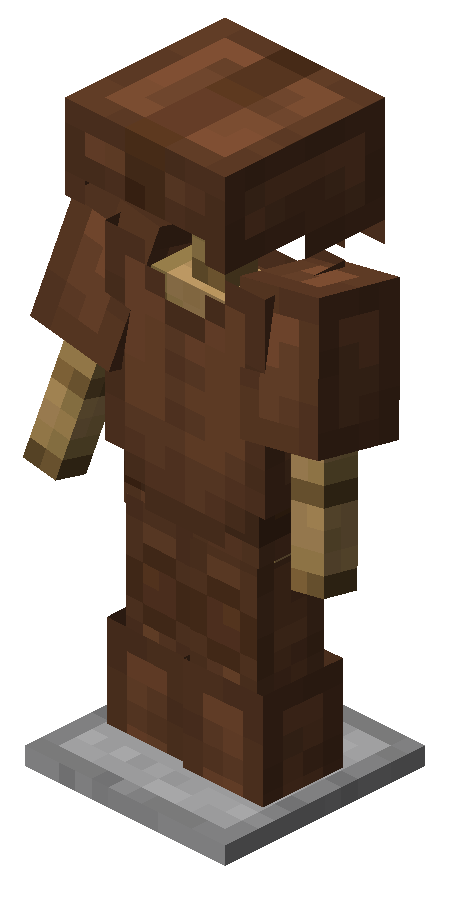
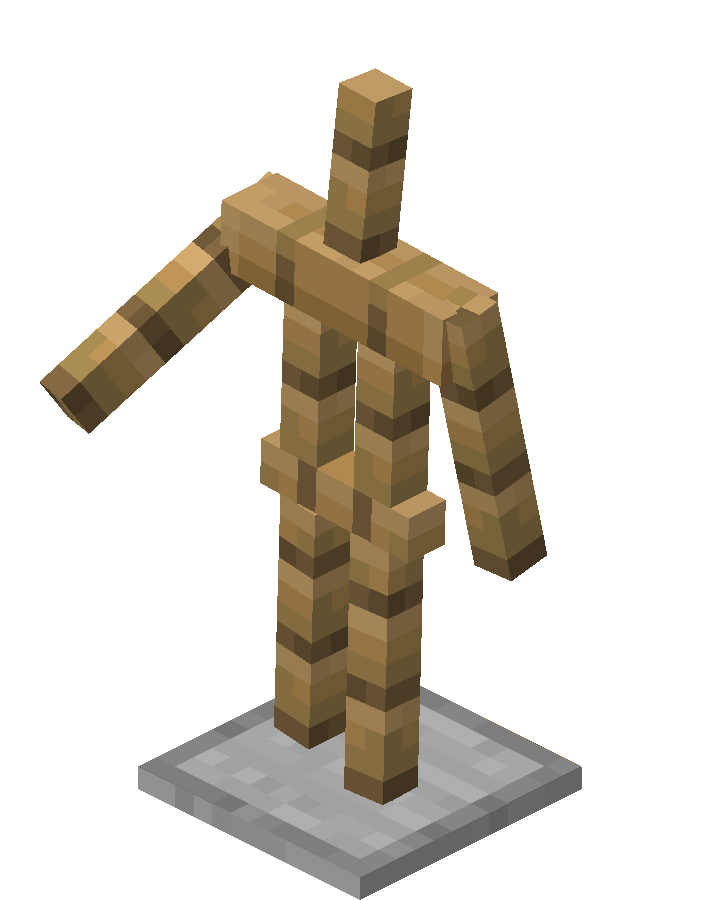
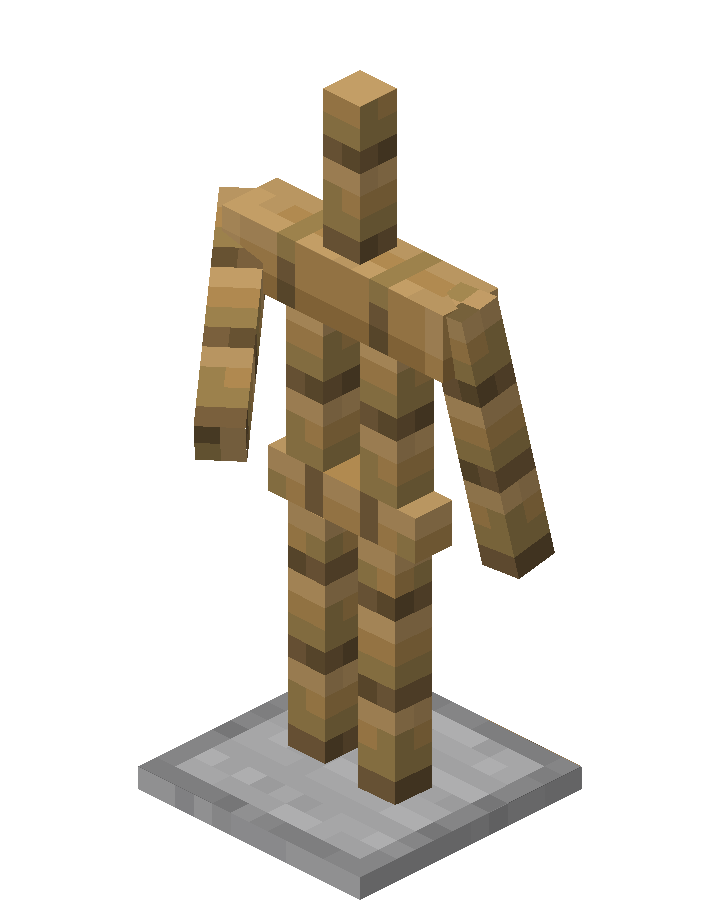
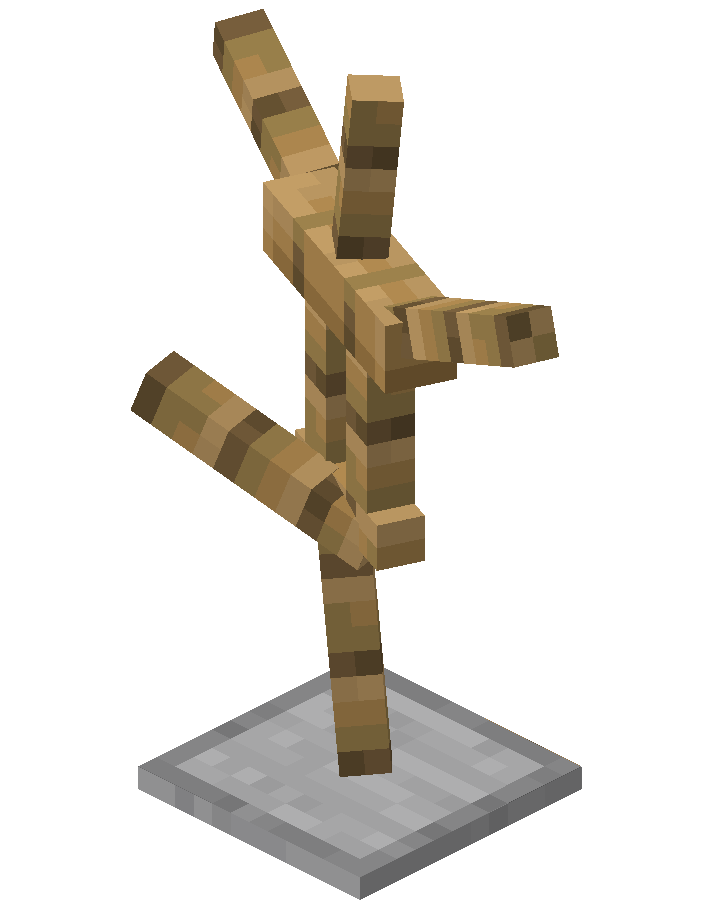
Стойка для брони Как сделать стойку для брони в Майнкрафт | Скриншот 2

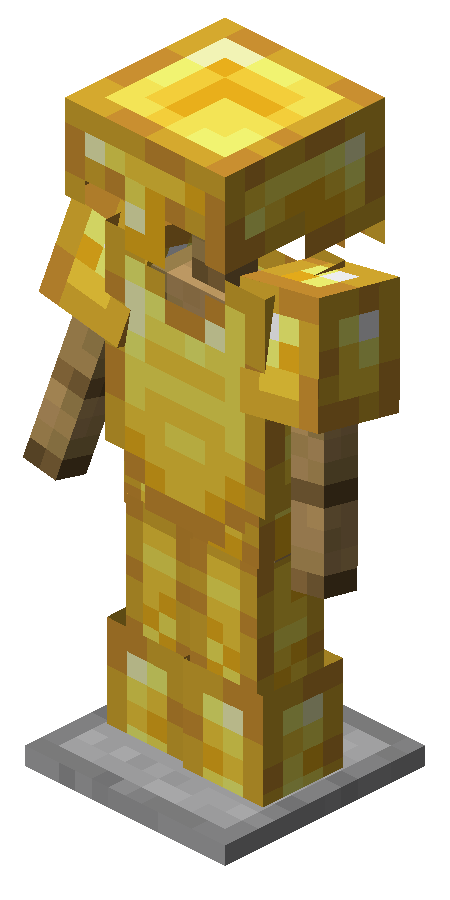
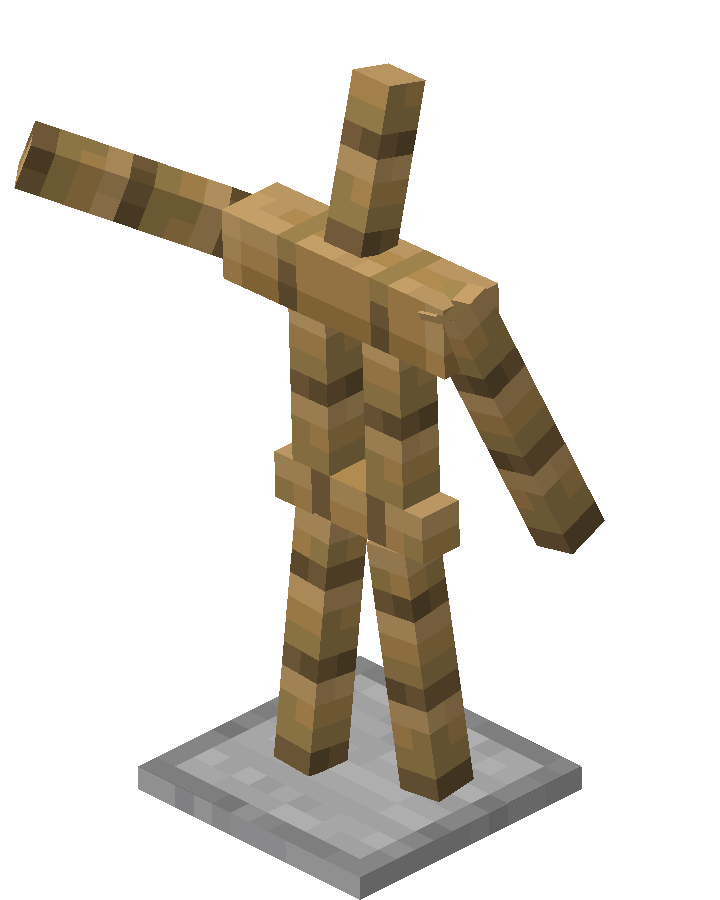
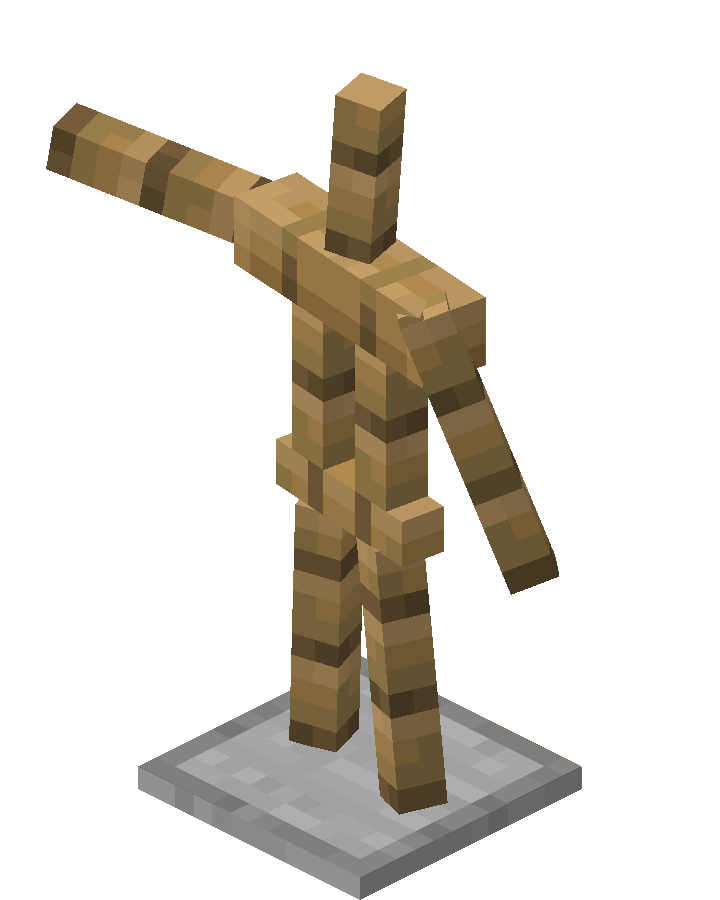
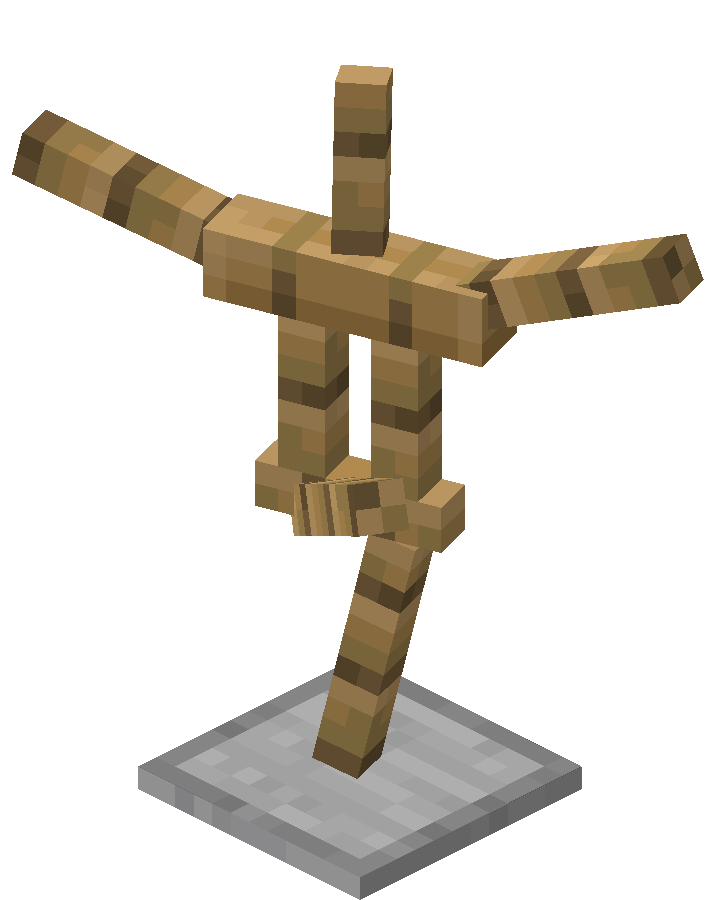
Стойка для брони Как сделать стойку для брони в Майнкрафт | Скриншот 3

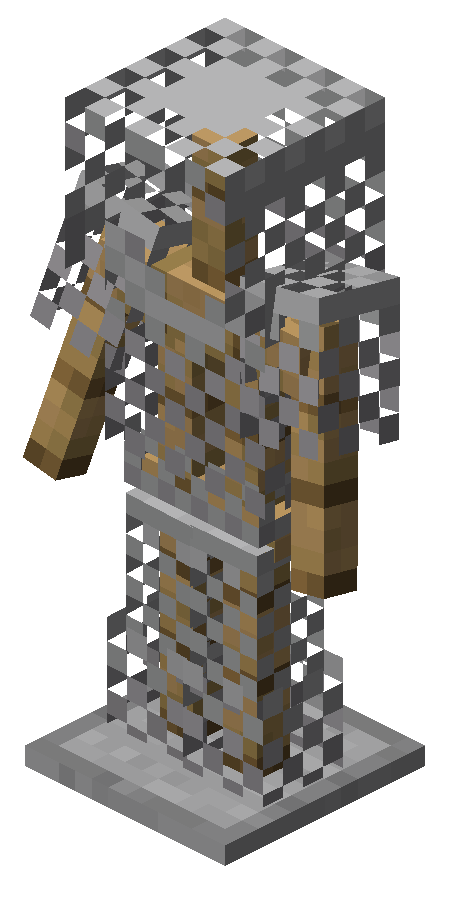
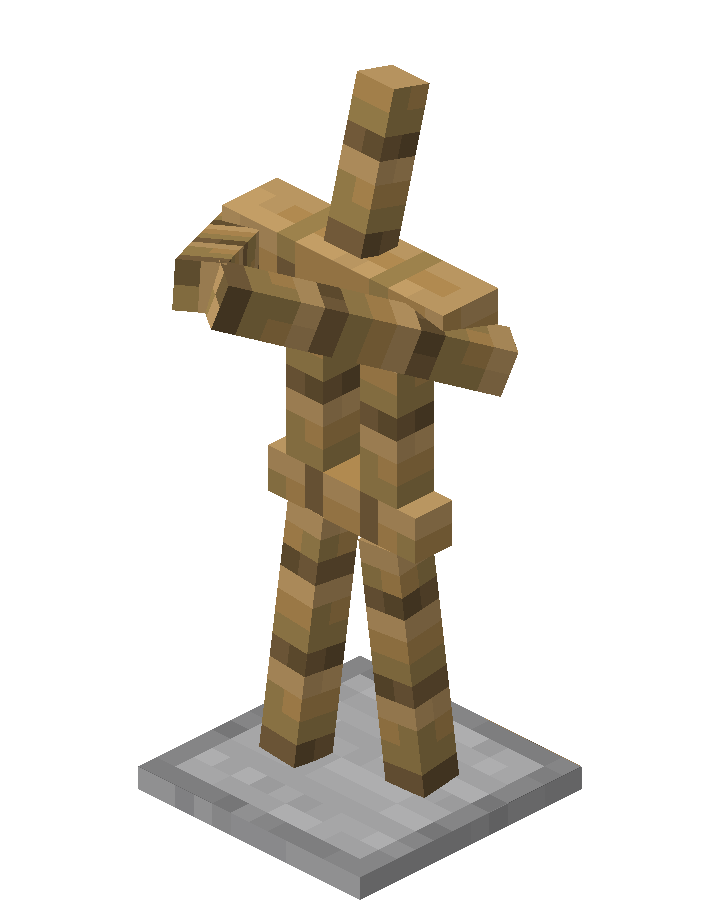
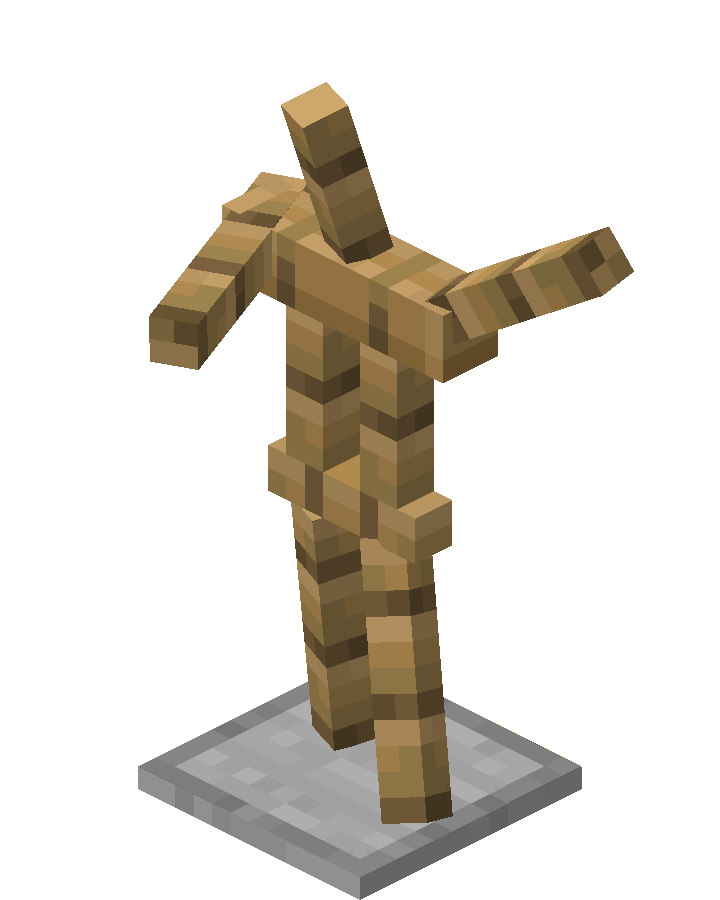
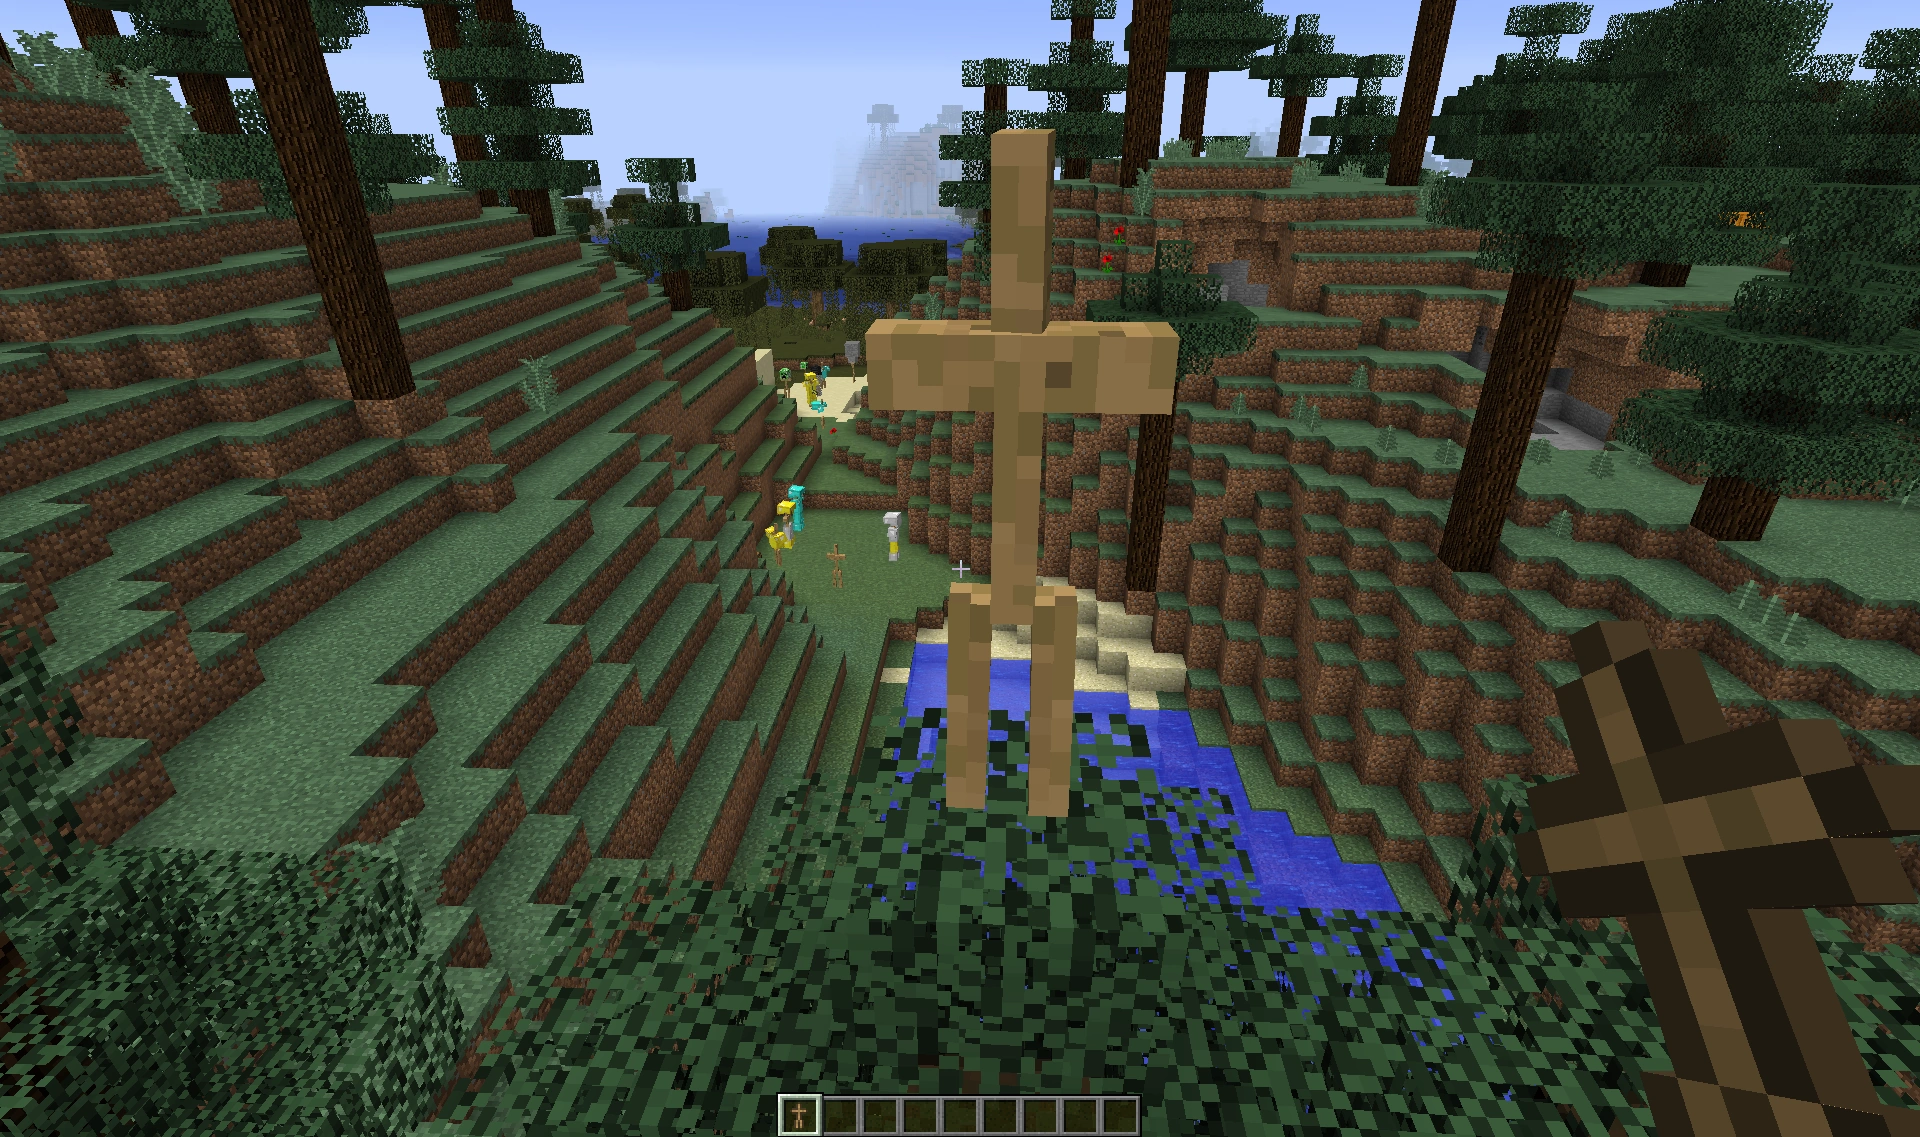
Стойка для брони Как сделать стойку для брони в Майнкрафт | Скриншот 4

Как сделать стойку для брони
Здесь указано, как сделать стойку для брони в Майнкрафте. В рецепте крафта указываются необходимые ингредиенты и их расположение в Minecraft.
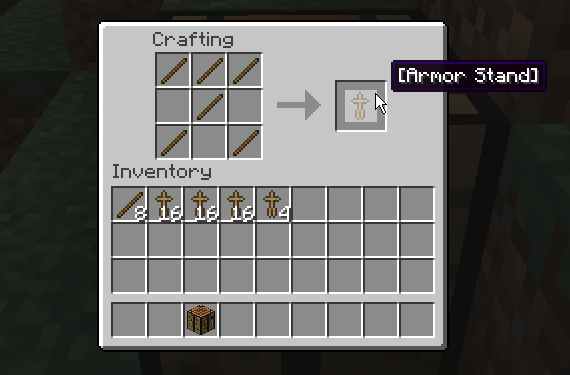
Чтобы сделать стойку для брони в Майнкрафте потребуются: 6 палок и плита из гладкого камня. Данные ингредиенты нужно разместить на верстаке, в соответствии с рисунком ниже. Чтобы открыть верстак нужно нажать правой кнопкой мыши на установленный верстак.
![]()
 | Палка (6) |
 | Плита из гладкого камня (1) |
Команда получения стойки для брони
Здесь указана команда, которая позволяет получить стойку для брони в Майнкрафте, то есть как в Minecraft создать стойку для брони.
![]()
Командный блок
Команду можно прописать в командный блок, чтобы она исполнялась при получении сигнала красного камня.
Видео про стойку для брони
Здесь можно посмотреть видео про стойку для брони в Майнкрафте, то есть подборка видеороликов про Minecraft, где есть стойка для брони.
[Guide] Как делать Armorstand модели или объекты на командных блоках
Всем привет, с вами Лисенок и сегодня я вам расскажу, как все же сделать модели или объекты (называйте, как нравится) на командных блоках. Конечно можно ОЧЕНЬ долго писать команду, но очень хорошие люди сделали для таких людей, как мы замечательный сайт-редактор.
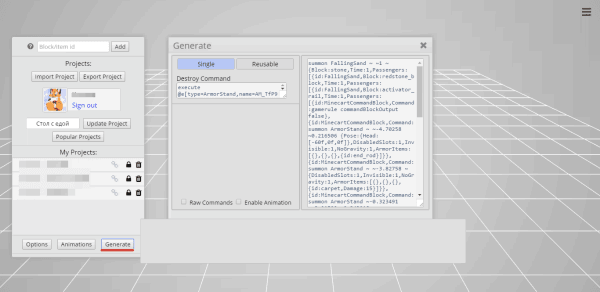
Переходим мы на наш сайт (ссылка) и видим такой интерфейс:
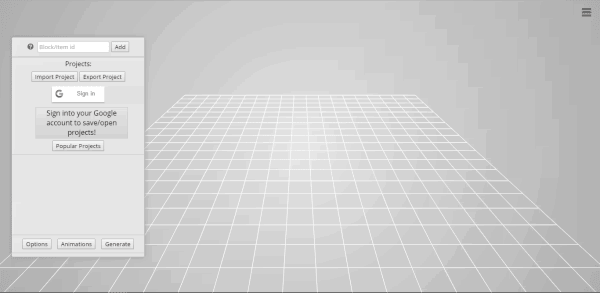
Справа у нас находится меню, где вы можете авторизоваться через Google, чтобы сохранять свои работы, но нам нужно начать делать свои объекты. Так как их все же делать?
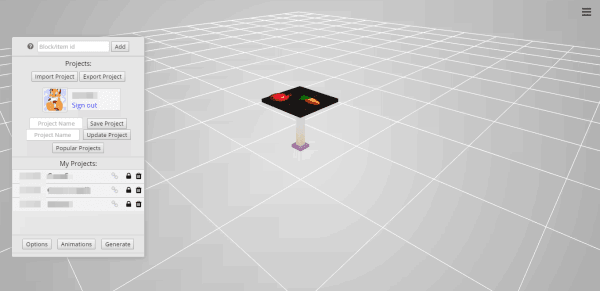
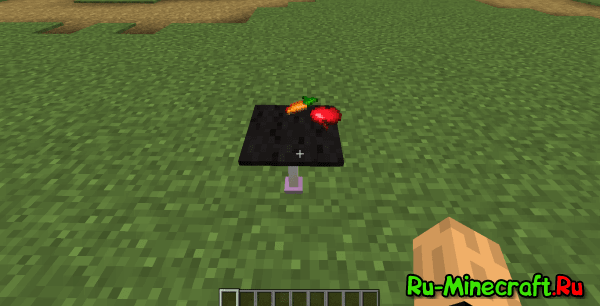
Например я возьму стержень эндера (end_rod), черный ковер (carpet:15), морковь (carrot) ну и яблоко (apple) и у меня получился вот такой симпатичный столик.
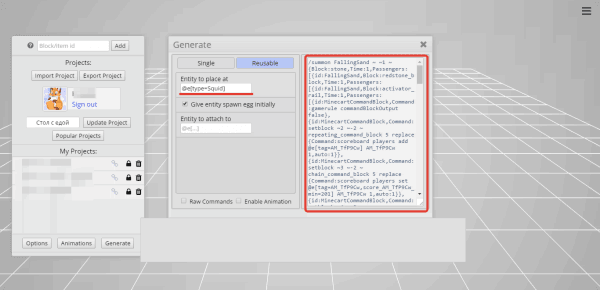
А теперь возникает вопрос, а как все же это сие чудо сделать в Minecraft? Все очень просто. Нажимаем на кнопку в том же меню справа «Generate»:
В Single делать практически нечего, мы в левой рамочке (где большая команда) копируем все и вставляем в командный блок.
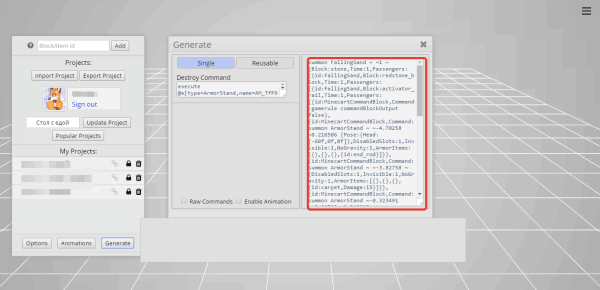
После того, когда мы скопировали нашу команду, идем в Minecraft и в командный блок вставляем нашу команду и вот чудо!
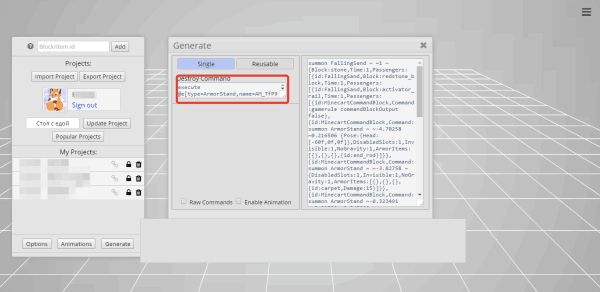
Позже возникает вопрос, а как убрать этот объект? Все очень просто, копируем команду, которая была в меню «Generate» справа, вставляем ее в командный блок и активируем его и вашего объекта словно не было.
Теперь объясняю 2 вариант. Нажимаем на вкладку «Reusable» и в поле справа можно написать, какой моб будет спавнится, перед тем, как заспавнится наш объект, хотя это мало важно. Копируем команду справа.
Внимание! Будьте осторожны! Ставьте командный блок вдалеке от ваших построек, т.к линия командных блоков, после активации, могут сломать ваши же постройки. Итак, вставляем нашу команду в командный блок и видим это:
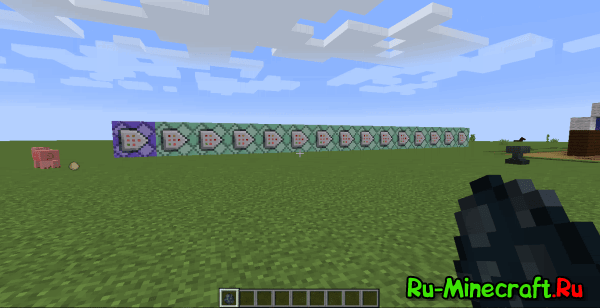
Перед нами заспавнилась линия из командных блоков и нам дали яйцо, которое и будет спавнить наш объект. Как же удалить объект? Пользуйтесь той же командой, которая убирает объекты в первом варианте.
Так же на этом сайте можно делать анимации объектов, которые также будут работать и в Minecraft, но это будет в следующей статье, если вам понравится эта.
В принципе это все, что я хотел вам рассказать, оцените мою первую статью, ведь я очень старался.

Смотреть видео гайд
Описание видео гайда
Также в этом видео руководстве вы узнаете о том, как пользоваться командами для создания невидимой стойки, без основания, маленькую или стойку с руками в Minecraft.
Генератор команд для стойки для брони в Майнкрафт
Получить команду для создания различного вида стоек для брони в Майнкрафте вы можете через ниже размещенный генератор.
Текст видео гайда (субтитры)
Так, друзья, мои и тем как мы начнем рисовать поставить большой пальчик вверх под этим видео, потому что это очень помогает выходе новых роликов из 2 основных способов как делать сама стойка для брони первые из них самой простой очевидный мы делаем значит гладкий камень три штуки нам нужно из 7 палочек на каждую стойку добра не ждем.
Потом используем этот рецепт, что получение кладки полублока теперь он крафтится таким запутанным способом и используем этот рецепт вот так вот, который почему-то не отображается и дефектов называется armor стенд это.
Первый способ как эту штуку сделать, но тут вас ожидает хитрый подвох вы смотрите на все это и думайте подожди герон ноги стойки брони можно менять форму, ну что я тут экспериментировал можно делать, в принципе любые формы для наших Стандофф для брони такие бегущие над волнами куда-нибудь, например, вай нот когда американцы хорошо, что до этого нужно было ходим на специальный сайт Майнкрафт романа стенд гений рейтер выбираем вариант Minecraft 1 13 выше если собираетесь играть нас военных майкрафте, но и находите тут нужна версия Майнкрафт выбираем 113 здесь мы крутим разные ползунки и меняю форму нашего armor стенда как угодно.
Да, можно вот так сделать подожди ближе вот так вот и вот так вот и вот так вот это уже что-то странное, но не важно короче развлекаемся как мужем свое удовольствие после этого можно еще покрутить всю эту конструкцию я так понимаю, что вот это дыра это веет внизу генерируется вот такой команд вот он просто копируем CTRL ц заходим в игру заходим в игру нажимаем enter и рядом с нами генерируется вот такой странный престранный farmer стенд в любой конфигурации все для вас, друзья, mai mare за просмотр за подписку лайки с вами был герон если есть вопросы пишите в комментарии под видео не забывайте, что у нас есть сайт герон магазин. Ru все ссылки офиса, где можно купить дешевый Minecraft, с которым можно смело играть на любых самых крутых серверах майнплекс и хайпиксель to be tu te иже с ними все для вас хардкору классно.
Генератор стендов для брони майнкрафт
[Guide] Как делать Armorstand модели или объекты на командных блоках
Всем привет, с вами Лисенок и сегодня я вам расскажу, как все же сделать модели или объекты (называйте, как нравится) на командных блоках. Конечно можно ОЧЕНЬ долго писать команду, но очень хорошие люди сделали для таких людей, как мы замечательный сайт-редактор.
Переходим мы на наш сайт (ссылка) и видим такой интерфейс:
Справа у нас находится меню, где вы можете авторизоваться через Google, чтобы сохранять свои работы, но нам нужно начать делать свои объекты. Так как их все же делать?
Например я возьму стержень эндера (end_rod), черный ковер (carpet:15), морковь (carrot) ну и яблоко (apple) и у меня получился вот такой симпатичный столик.
А теперь возникает вопрос, а как все же это сие чудо сделать в Minecraft? Все очень просто. Нажимаем на кнопку в том же меню справа «Generate»:
И тут у нас есть выбор: Single — это когда вы вставляете в командный блок саму команду, запускаете его и на месте этого командного блока появляется ваш объект. Reusable — это когда вы вставляете в командный блок саму команду, запускаете его, на его месте появляется линия из командных блоков и вам дается яйцо энтити (существа), которого также можно указать на сайте, и этим яйцом вы спавните свои объекты. Объясню все 2 варианта.
В Single делать практически нечего, мы в левой рамочке (где большая команда) копируем все и вставляем в командный блок.
После того, когда мы скопировали нашу команду, идем в Minecraft и в командный блок вставляем нашу команду и вот чудо!
Позже возникает вопрос, а как убрать этот объект? Все очень просто, копируем команду, которая была в меню «Generate» справа, вставляем ее в командный блок и активируем его и вашего объекта словно не было.
Теперь объясняю 2 вариант. Нажимаем на вкладку «Reusable» и в поле справа можно написать, какой моб будет спавнится, перед тем, как заспавнится наш объект, хотя это мало важно. Копируем команду справа.
Внимание! Будьте осторожны! Ставьте командный блок вдалеке от ваших построек, т.к линия командных блоков, после активации, могут сломать ваши же постройки. Итак, вставляем нашу команду в командный блок и видим это:
Перед нами заспавнилась линия из командных блоков и нам дали яйцо, которое и будет спавнить наш объект. Как же удалить объект? Пользуйтесь той же командой, которая убирает объекты в первом варианте.
Так же на этом сайте можно делать анимации объектов, которые также будут работать и в Minecraft, но это будет в следующей статье, если вам понравится эта.
В принципе это все, что я хотел вам рассказать, оцените мою первую статью, ведь я очень старался.
NBT Tags for Armor Stand in Minecraft (Java Edition 1.16)
This Minecraft tutorial explains the NBT tags (formerly called data tags) that you can use for an armor stand in Minecraft Java Edition (PC/Mac) 1.16.
TIP: If you are not running Minecraft Java Edition (PC/Mac) 1.16, find NBT tags for armor stand in another version of Minecraft:
Background

What are NBT tags (formerly called Data Tags)?
List of NBT Tags
Here is a list of the NBT tags that you can use for armor_stand in Minecraft Java Edition (PC/Mac) 1.16:
0 (The armor stand will take damage like normal)
1 (The armor stand will not take any damage from attacks or physical surroundings)
0 (All slots are enabled which means that items on the armor stand can be added, changed or removed)
1 (Adding or changing hand items is disabled)
2 (Adding or changing boot items is disabled)
4 (Adding or changing leggings items is disabled)
8 (Adding or changing chestplate item is disabled)
16 (Adding or changing helmet item is disabled)
256 (Removing or changing hand items is disabled)
512 (Removing or changing boots item is disabled)
1024 (Removing or changing leggings item is disabled)
2048 (Removing or changing chestplate item is disabled)
4096 (Removing or changing helmet item is disabled)
65536 (Adding hand items is disabled)
131072 (Adding boots item is disabled)
262144 (Adding leggings item is disabled)
524288 (Adding chestplate item is disabled)
1048576 (Adding helmet item is disabled)
0 (The armor stand sits on the ground)
1 (The armor stand can float in the air)
0 (The armor stand will not have arms)
1 (The armor stand will have arms)
0 (The armor stand is visible)
1 (The armor stand is invisible and only the items on the armor stand can be seen)
0 (The armor stand is normal size)
1 (The armor stand is small)
0 (The armor stand is not on the ground)
1 (The armor stand is on the ground)
0 (The armor stand has a base plate)
1 (The armor stand does not have a base plate)
Items of armor that are hanging on the armor stand, listed in this order: boots, leggings, chestplate, helmet
The pose for the armor stand which can be up to 6 data tags: Head, Body, LeftArm, RightArm, LeftLeg and RightLeg. (See below for explanation)
It is used within the Pose data tag to specify the position of the head. It takes 3 values and each value can be between 0 and 360 (in degrees). The first value is the rotation around the x-axis, the second value is the rotation around the y-axis and the third value is the rotation around the z-axis.
It is used within the Pose data tag to specify the position of the body. It takes 3 values and each value can be between 0 and 360 (in degrees). The first value is the rotation around the x-axis, the second value is the rotation around the y-axis and the third value is the rotation around the z-axis.
It is used within the Pose data tag to specify the position of the left arm. It takes 3 values and each value can be between 0 and 360 (in degrees). The first value is the rotation around the x-axis, the second value is the rotation around the y-axis and the third value is the rotation around the z-axis.
It is used within the Pose data tag to specify the position of the right arm. It takes 3 values and each value can be between 0 and 360 (in degrees). The first value is the rotation around the x-axis, the second value is the rotation around the y-axis and the third value is the rotation around the z-axis.
It is used within the Pose data tag to specify the position of the left leg. It takes 3 values and each value can be between 0 and 360 (in degrees). The first value is the rotation around the x-axis, the second value is the rotation around the y-axis and the third value is the rotation around the z-axis.
It is used within the Pose data tag to specify the position of the right leg. It takes 3 values and each value can be between 0 and 360 (in degrees). The first value is the rotation around the x-axis, the second value is the rotation around the y-axis and the third value is the rotation around the z-axis.
armor_stand (The entity value used to represent an armor stand in the EntityTag or Passengers tag)
NBT Tag Examples
To summon an armor stand that has arms:
To summon a floating armor stand with no base plate:
To summon an armor stand with a netherite helmet and netherite boots:
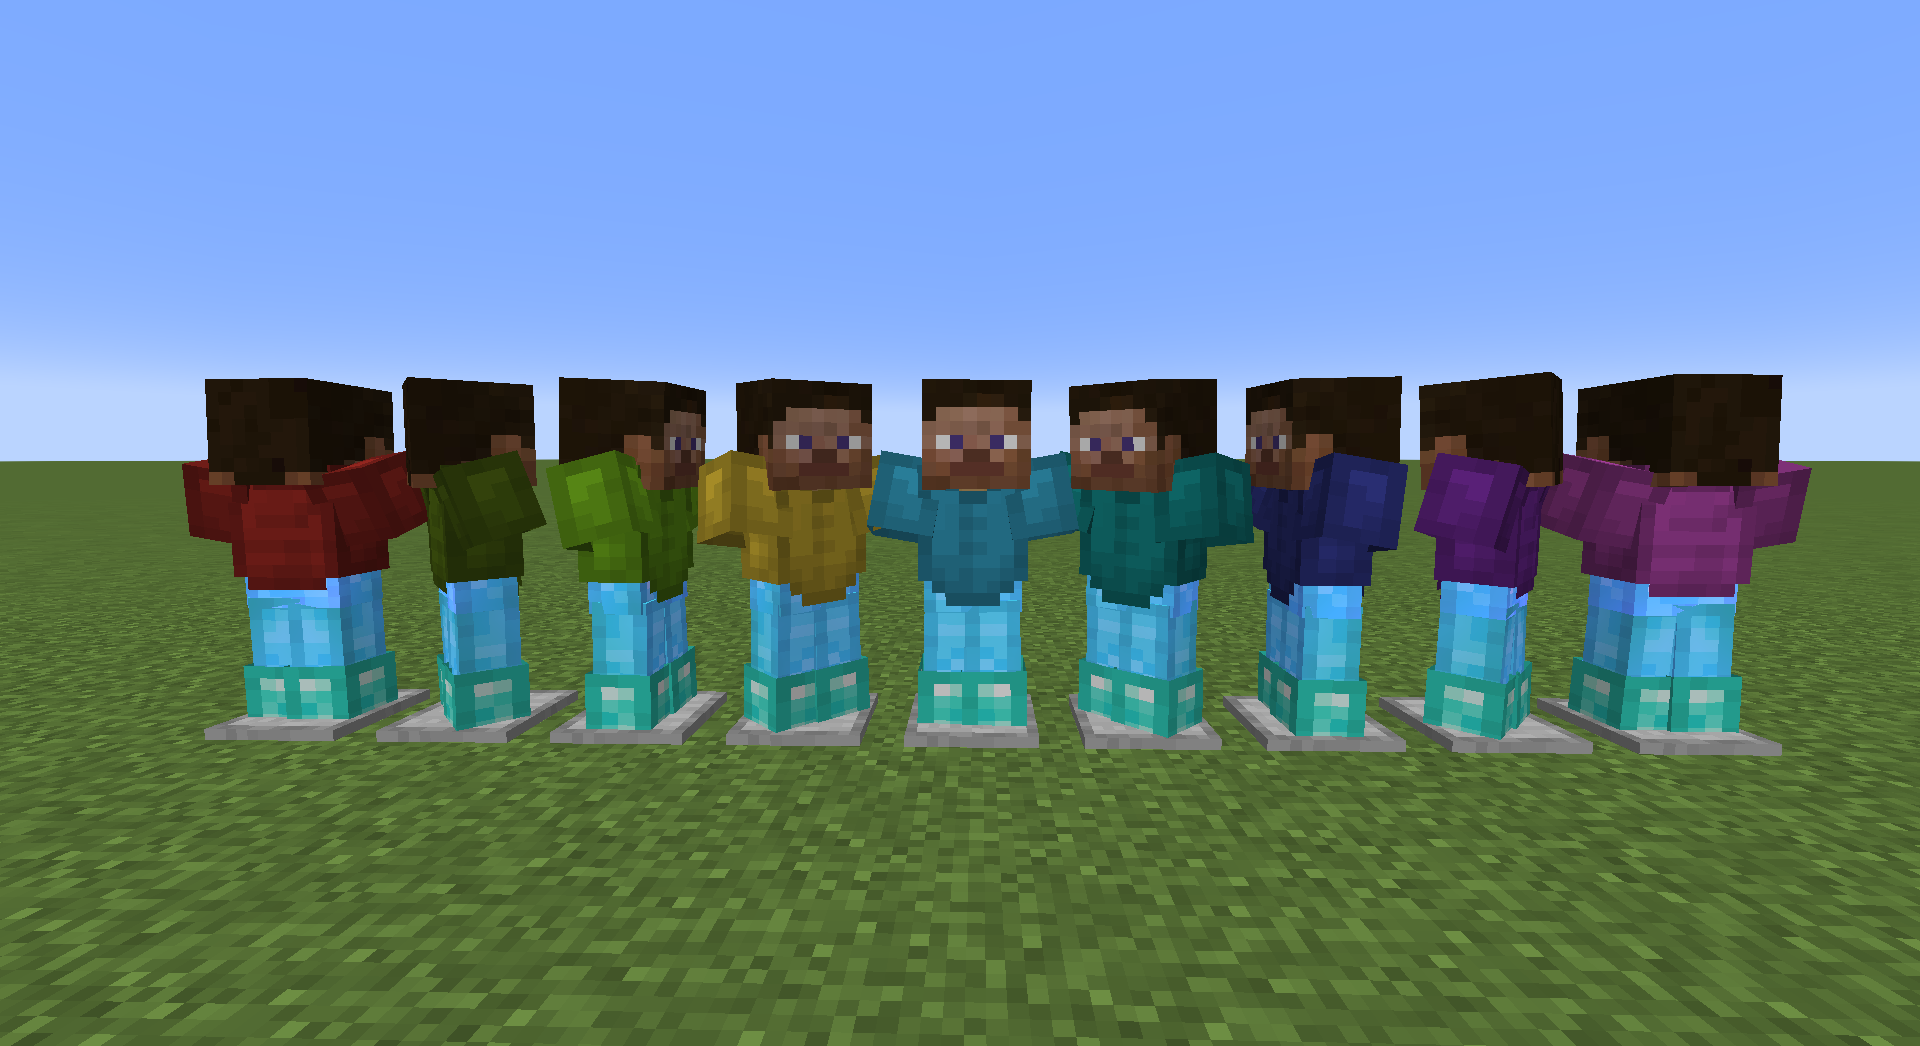
To summon an invisible armor stand with a Steve head (looks like a floating Steve head):
Target Selectors
Before we finish discussing data tags, let’s quickly explore how to use the @e target selector. The @e target selector allows you to target entities in your commands. If you use the type=armor_stand value, you can target armor stands:
Target Selector Examples
To change the nearest armor stand to be invisible:
Next, learn how to use the game commands in Minecraft.
Command Examples
Here are some game command examples for an armor stand in Minecraft:
Скачать плагин Armor Stand Tools | Настройка положения рук, ног, тела, головы у стойки для брони 4.2.0

Описание плагина ArmorStandTools:
Armor Stand Tools — этот плагин добавит на ваш сервер возможность создавать стенды с броней и ставить их в разных положениях, например можно поднять руку или ногу, повернуть голову и т.д, настраивать стенды, добавлять предметы, изменять положения, анимацию, добавлять команды. Плагин очень интересен и разнообразен. Отлично подойдет для сервера с любым режимом. Плагин легок в использовании и настройки.
Команды плагина ArmorStandTools:
/astools — дать себе все инструменты подставки для брони
/astools reload — перезагрузка плагина
/ast — переименовать стенд
/ascmd assign console — назначить ближайшему стенду команду в консоль
/ascmd assign player — назначьте команду игроку на ближайшую броневую стойку
/ascmd remove — удалите команду, назначенную ближайшей стойке брони
/ascmd view — просмотр команды, назначенной ближайшей стойке брони
/ascmd cooldown — установить время восстановления для команды на ближайшей стойке брони
/ascmd cooldown remove — удаление восстановления для команды на ближайшей стойке брони
Права плагина ArmorStandTools:
astools.command — разрешение для команды /astools
astools.reload — разрешение на перезагрузку плагина
astools.use — разрешение на использование любого из инструментоы
astools.clone — разрешение на использование инструмента клонирования
astools.summon — разрешение на использование инструмента вызова
astools.head — разрешение на использование инструмента голова игрока
astools.cmdblock — разрешение на использование инструмента сохранения
astools.ascmd.assign.console — разрешение назначить консольную команду на стойку брони
astools.ascmd.assign.player — разрешение назначить команду игрока на стойку брони
astools.ascmd.remove — разрешение на удаление команды с бронированного стенда
astools.ascmd.view — разрешение на просмотр команды, назначенной Броневому стенду
astools.ascmd.execute — разрешение на выполнение команды, назначенной броне
Скриншоты плагина ArmorStandTools:


Как установить плагин ArmorStandTools?
1. Скачайте плагин.
2. Возьмите скачанный файл и перенесите в папку plugins вашего сервера.
3. Перезапустите сервер.
4. Готово.
Скачать плагин Armor Stand Tools
Скачать версию 4.2.0 для майнкрафт 1.17.1 — 1.17
Скачать версию 4.1.1 для майнкрафт 1.17.1 — 1.17
Скачать версию 4.1.1 для майнкрафт 1.17.1 — 1.17
Скачать версию 4.0.2 для майнкрафт 1.17.1 — 1.17
Скачать версию 4.0.1 для майнкрафт 1.17.1 — 1.17
Скачать версию 4.0.0 для майнкрафт 1.17.1 — 1.17
Скачать версию 3.7.2 для майнкрафт 1.16.5 — 1.13.2
Скачать версию 3.7.0 для майнкрафт 1.16.4 — 1.13.2
Скачать версию 2.2.1 для майнкрафт 1.12.2 — 1.8

EliteArmor — плагин для Майнкрафт, который добавит возможность свою собственную броню и рецепты крафта к этой броне

DiscoArmor — интересный плагин, который добавит на Ваш сервер майнкрафт диско броню. Это броня мне кажется понравится

FrameProtect — Отличный плагин, который поможет защитить рамки, картины, стойки для брони, узлы поводков, кристалл

С плагином Animatronics вы можете создавать анимацию брони за секунды! С помощью этого плагина вы можете захватывать

Улучшите свой многопользовательский опыт выживания

MyDog — этот плагин добавит возможности вашим волкам, например давать имя и переименововать своего питомца, также
Minecraft Wiki
The Minecraft Wiki is no longer considered as official by Microsoft and therefore several changes are required to be made, including to the wiki’s logo. Please read this announcement for more information.
Armor Stand

Normal:
Width: 0.5 Blocks
Height: 1.975 Blocks
Small:
Width: 0.25 Blocks
Height: 0.9875 Blocks
Armor stands are entities that are able to hold and display wearable items.
Contents
Obtaining [ ]
An armor stand can be broken by quickly attacking it twice, dropping itself and any armor placed onto it.
Crafting [ ]
Natural generation [ ]
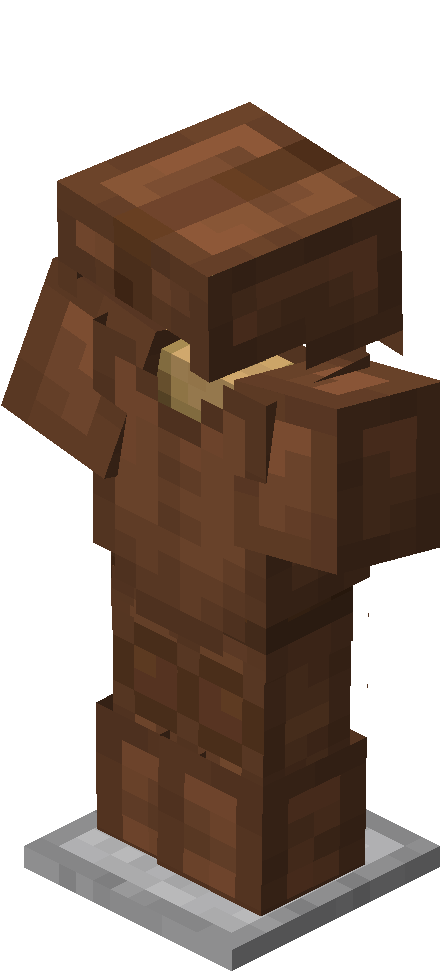
Two armor stands are found in each taiga village outdoor armory, one equipped with an iron helmet, the other with an iron chestplate.
Usage [ ]

Players can use armor stands to hold armor, mob heads, carved pumpkins, and elytra. Commands can be used to give them other items. The stand does not have a GUI, so players interact with it directly. Armor stands are also able to be placed in different orientations, similar to banners or signs. Armor stands are entities, allowing them to be pushed by pistons, moved by flowing water, pulled with fishing rods, and bounced by slime blocks.
Using armor on the stand places the armor if done on a bare spot. Conversely, clicking on armor with a bare hand removes the armor and places it in the highlighted hot-bar slot. It is not possible to take or place items from the armor stand’s hands unless playing on Bedrock Edition*.
Armor, a mob head or a carved pumpkin can be automatically placed on armor stands with a dispenser.
Armor stands can be customized further to have arms, pose, disobey gravity, dual wield and other things by summoning them using /summon with NBT tags.
In maps heavily using command blocks, armor stands can be used to keep scoreboard objectives that are ‘global’ to the map, run commands, etc.
In Bedrock Edition, the pose of the armor stand can be changed by sneaking and clicking on the pose button, or by using a redstone signal. There are 13 possible poses. Armor stands can also hold items by clicking on the equip button.
Pose types.
| No. | Namespace ID | Redstone power |
|---|---|---|
| 0 | animation.armor_stand.default_pose | 0 |
| 1 | animation.armor_stand.no_pose | 1 |
| 2 | animation.armor_stand.solemn_pose | 2 |
| 3 | animation.armor_stand.athena_pose | 3 |
| 4 | animation.armor_stand.brandish_pose | 4 |
| 5 | animation.armor_stand.honor_pose | 5 |
| 6 | animation.armor_stand.entertain_pose | 6 |
| 7 | animation.armor_stand.salute_pose | 7 |
| 8 | animation.armor_stand.hero_pose | 8, 13 or more |
| 9 | animation.armor_stand.riposte_pose | 9 |
| 10 | animation.armor_stand.zombie_pose | 10 |
| 11 | animation.armor_stand.cancan_a_pose | 11 |
| 12 | animation.armor_stand.cancan_b_pose | 12 |
Behavior [ ]
Because armor stands are entities, they obey gravity, allowing them to fall and rest on non-full blocks such as enchantment tables, snow layers and slabs.
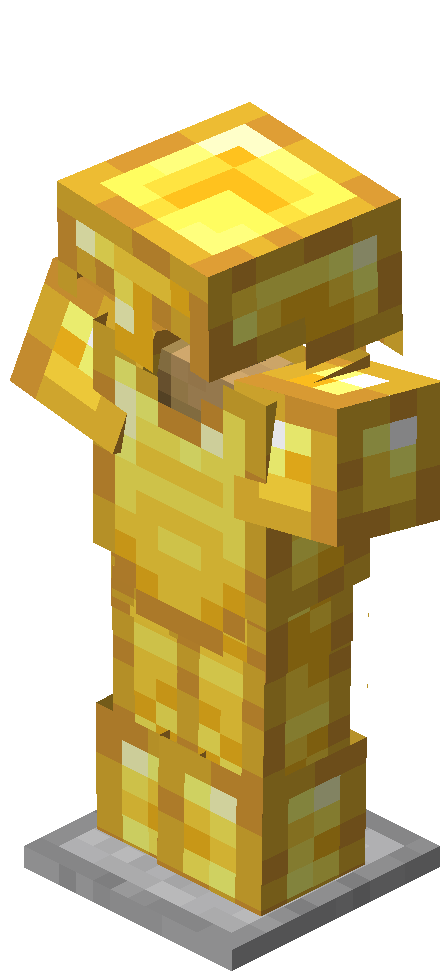
Any armor on the stand drops when the stand is broken. Armor stands can display enchanted and all forms of dyed armor. The effects of most enchanted armor have no effect when on an armor stand, with three exceptions:
Armor stands are not damaged by cacti but can be broken by arrows. An armor stand destroyed by an explosion or a firework does not drop as an item. Armor stands in water and lava at the same time are not consumed by the lava.
In Bedrock Edition, armor stands can be affected by status effects. They can be ‘killed’ by Harming and Decay splash/lingering potions, lava, fire, and campfires, and they play the player death sound and fall to their side and disappear, yielding no armor stand item. If an armor stand is equipped with an item or armor, that item or armor is considered as «naturally-spawned equipment» with an 8.5% chance of dropping when the armor stand «dies» from the Instant Damage or the Wither status effect. If the dropped item is any form of weapon, tool or armor, it drops in a badly damaged state because the game considers it as «naturally-spawned equipment». [1]
The stand wobbles slightly when being hit by the player.
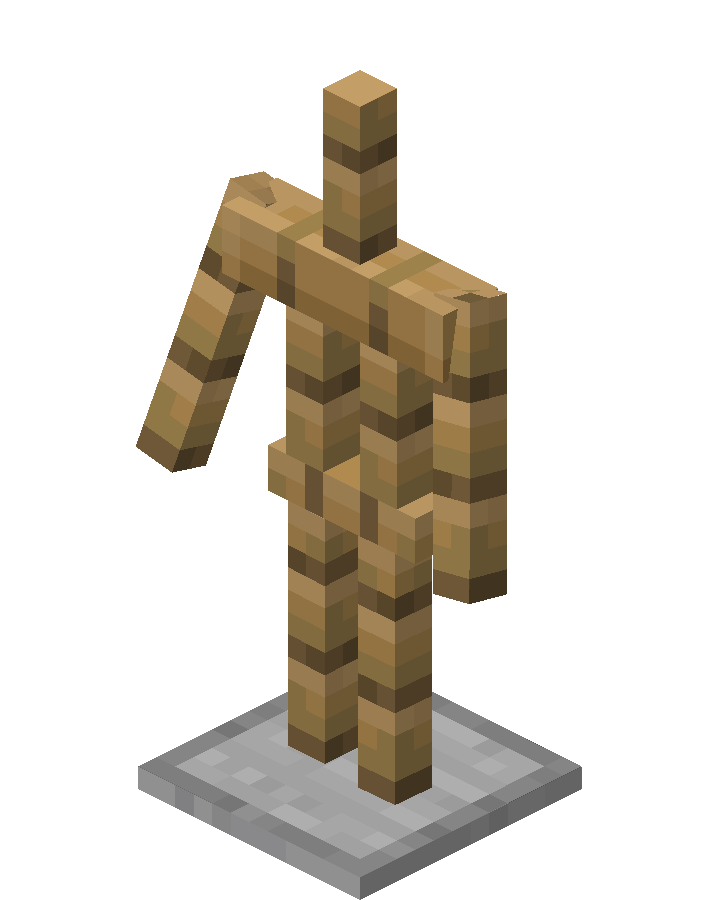
In Java Edition, it is possible to create an armor stand with arms using the /summon command. It is also possible to change an armor stand without arms into a stand with arms by using the /data command. The commands are as follows:
Sounds [ ]
| Sound | Subtitles | Source | Description | Resource location | Translation key | Volume | Pitch | Attenuation distance |
|---|---|---|---|---|---|---|---|---|
| https://minecraft.fandom.com/wiki/File:Armor_Stand_hit1.ogg https://minecraft.fandom.com/wiki/File:Armor_Stand_hit2.ogg https://minecraft.fandom.com/wiki/File:Armor_Stand_hit3.ogg https://minecraft.fandom.com/wiki/File:Armor_Stand_hit4.ogg | Block breaking | Friendly Creatures | Hitting the entity | entity.armor_stand.hit | subtitles.block.generic.hit | 1.0 | 1.0 | 16 |
| https://minecraft.fandom.com/wiki/File:Armor_Stand_break1.ogg https://minecraft.fandom.com/wiki/File:Armor_Stand_break2.ogg https://minecraft.fandom.com/wiki/File:Armor_Stand_break3.ogg https://minecraft.fandom.com/wiki/File:Armor_Stand_break4.ogg | Block broken | Friendly Creatures | Destroying the entity | entity.armor_stand.break | subtitles.block.generic.break | 1.0 | 1.0 | 16 |
| https://minecraft.fandom.com/wiki/File:Stone_dig1.ogg https://minecraft.fandom.com/wiki/File:Stone_dig2.ogg https://minecraft.fandom.com/wiki/File:Stone_dig3.ogg https://minecraft.fandom.com/wiki/File:Stone_dig4.ogg | Block placed | Blocks | Placing the entity | entity.armor_stand.place | subtitles.block.generic.place | 1.0 | 1.0 | 16 |
| https://minecraft.fandom.com/wiki/File:Wood_dig1.ogg https://minecraft.fandom.com/wiki/File:Wood_dig2.ogg https://minecraft.fandom.com/wiki/File:Wood_dig3.ogg https://minecraft.fandom.com/wiki/File:Wood_dig4.ogg | Block placed | Friendly Creatures | The entity falls onto a block | entity.armor_stand.fall | subtitles.entity.armorstand.fall | 1.0 | 1.0 | 16 |
Data values [ ]
| Armor Stand | Resource location | Form | Translation key |
|---|---|---|---|
| Item | armor_stand | Item | item.minecraft.armor_stand |
| Armor Stand | Resource location | Translation key |
|---|---|---|
| Entity | armor_stand | entity.minecraft.armor_stand |
| Armor Stand | Resource location | Numeric ID | Form | Translation key |
|---|---|---|---|---|
| Item | armor_stand | 425 | Item | item.armor_stand.name |
| Armor Stand | Resource location | Numeric ID | Translation key |
|---|---|---|---|
| Entity | armor_stand | 61 | entity.armor_stand.name |
Item data [ ]
Entity data [ ]
Armor stands have entity data associated with them that contain various properties of the entity.
Disabled slots [ ]
| Binary | Integer number | Result |
|---|---|---|
| 2^0 | 1 | Disable adding or changing mainhand item |
| 2^1 | 2 | Disable adding or changing boots item |
| 2^2 | 4 | Disable adding or changing leggings item |
| 2^3 | 8 | Disable adding or changing chestplate item |
| 2^4 | 16 | Disable adding or changing helmet item |
| 2^5 | 32 | Disable adding or changing offhand item |
| 2^8 | 256 | Disable removing or changing mainhand item |
| 2^9 | 512 | Disable removing or changing boots item |
| 2^10 | 1024 | Disable removing or changing leggings item |
| 2^11 | 2048 | Disable removing or changing chestplate item |
| 2^12 | 4096 | Disable removing or changing helmet item |
| 2^13 | 8192 | Disable removing or changing offhand item |
| 2^16 | 65536 | Disable adding mainhand item |
| 2^17 | 131072 | Disable adding boots item |
| 2^18 | 262144 | Disable adding leggings item |
| 2^19 | 524288 | Disable adding chestplate item |
| 2^20 | 1048576 | Disable adding helmet item |
| 2^21 | 2097152 | Disable adding offhand item |
Video [ ]
Note: This video is outdated as Zoglins now attack armor stands
History [ ]
The first image of the armor stand.
The first image of armor stand crafting recipe.
Armor stands in the 1.8 poster.
Issues [ ]
Issues relating to «Armor Stand» are maintained on the bug tracker. Report issues there.
Trivia [ ]
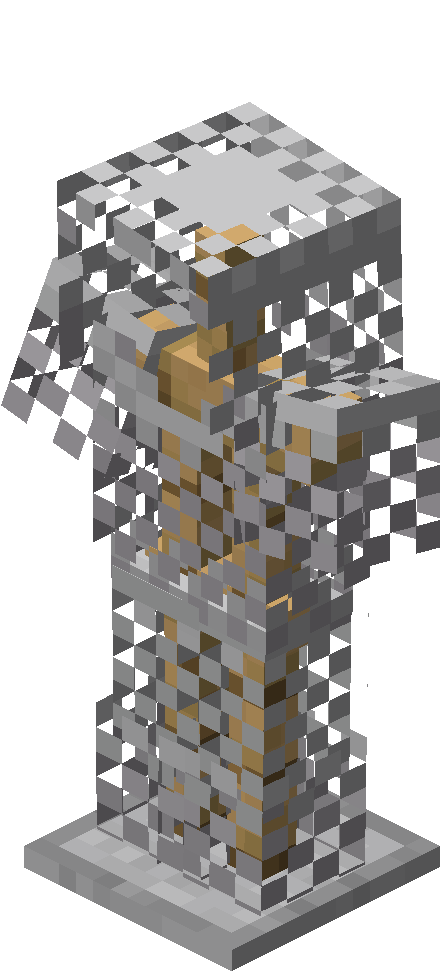
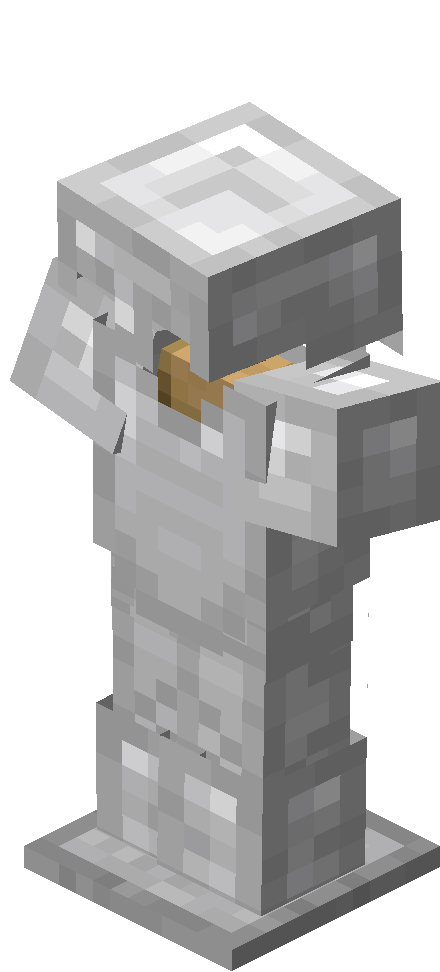
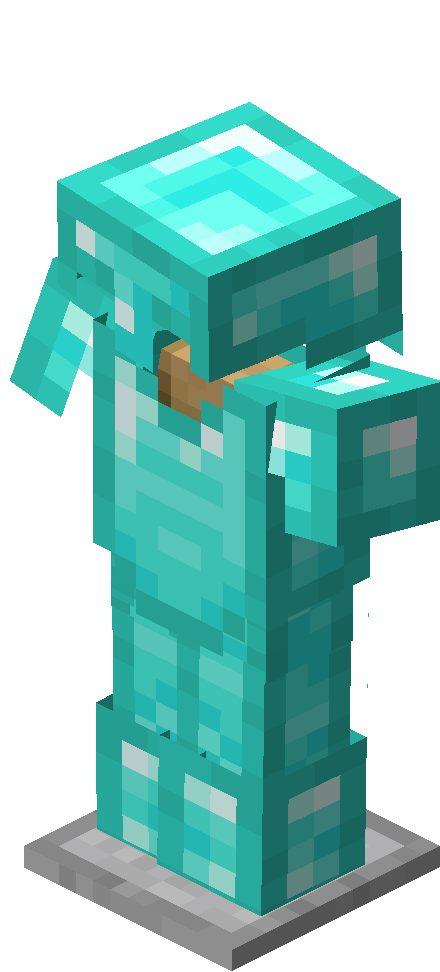
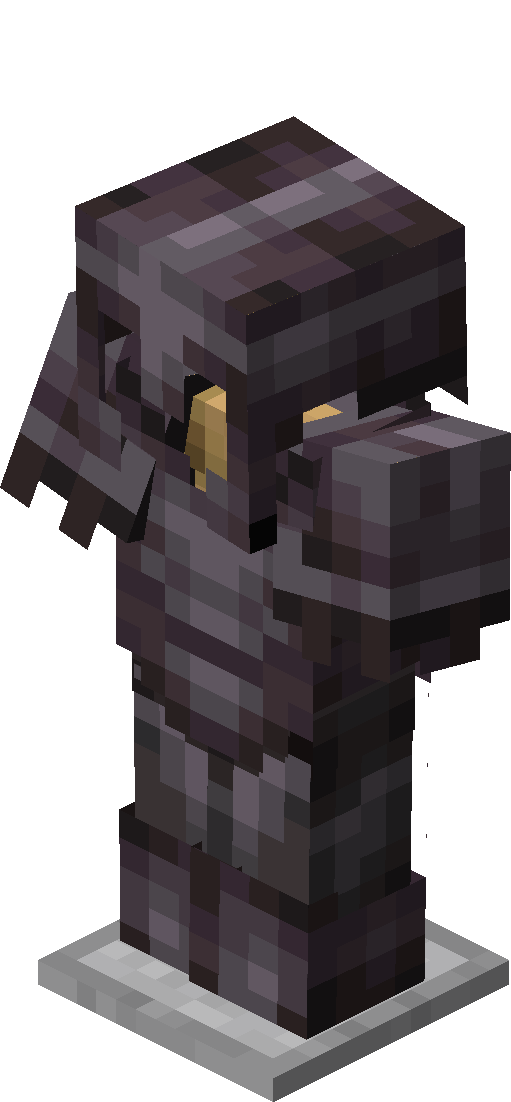
Gallery [ ]
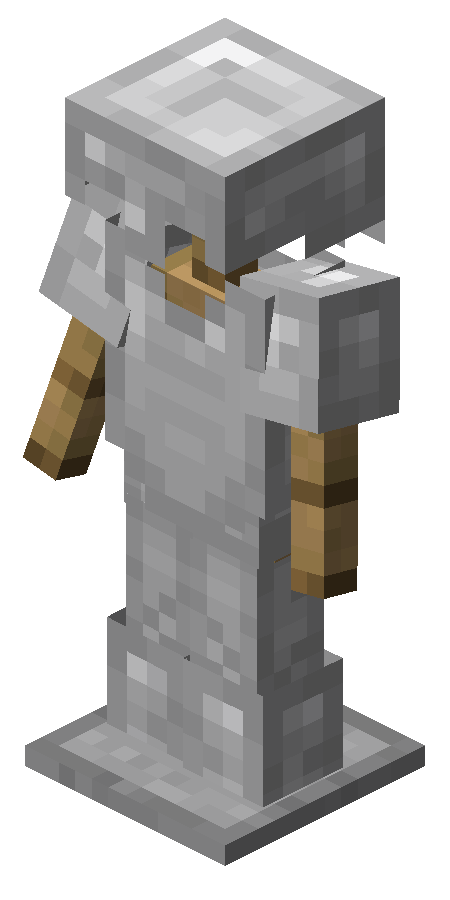
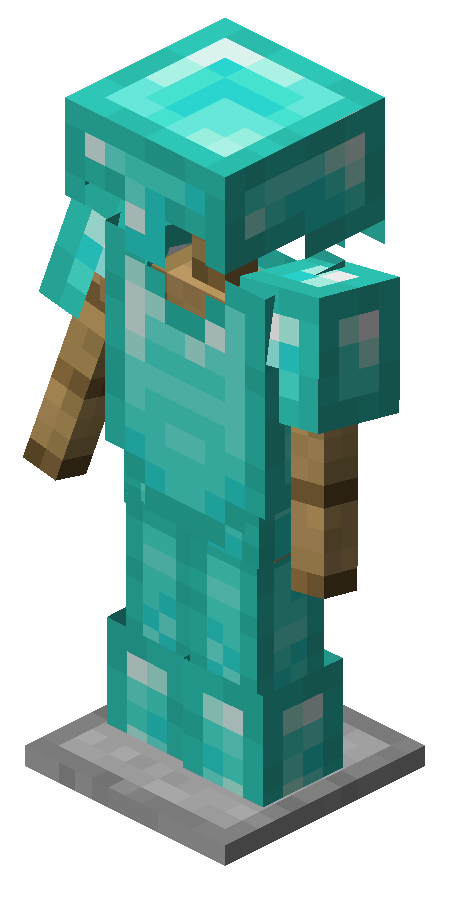
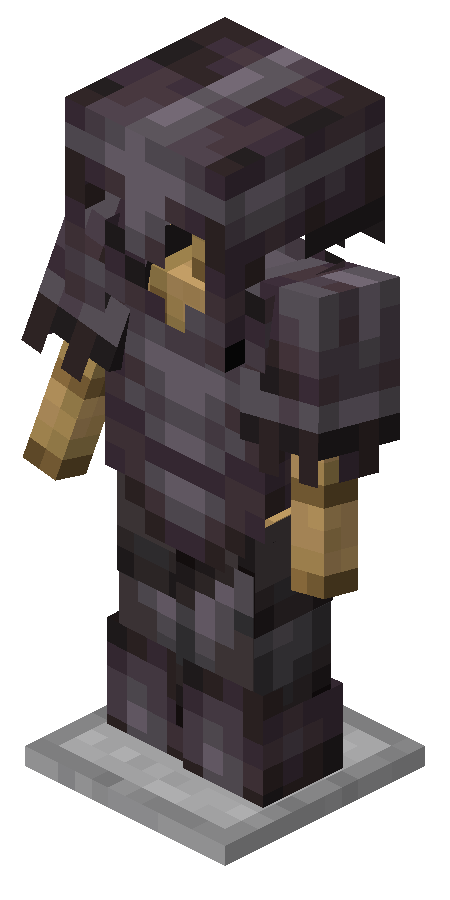
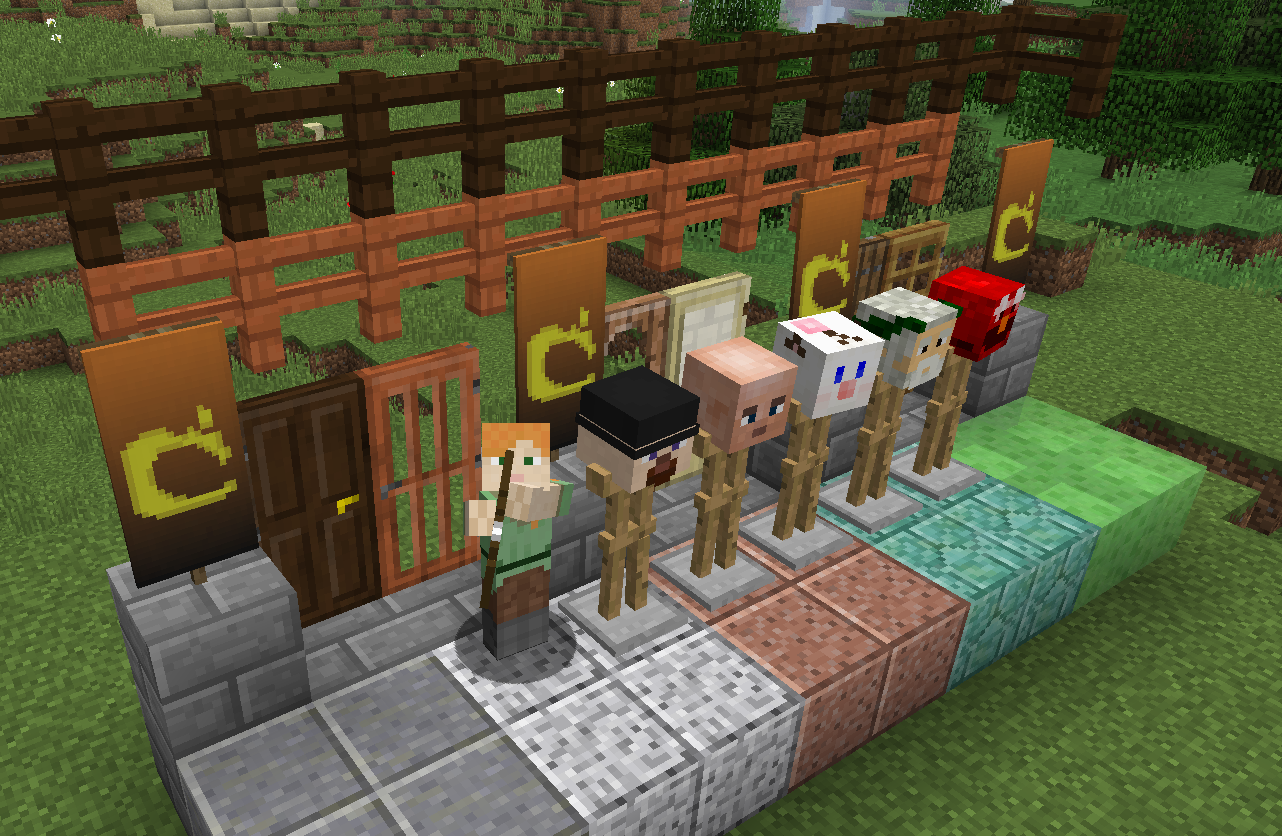
Armor stands in various positions with various armor.


All armor stand poses as seen in Bedrock Edition.