Junimo kart stardew valley мод


Stardew Valley

God forbid you ever lay your hands on that god daim second arcade machine because jesus that games makes me salty. Some jumps (looking at you lvl 5) are actualy impossible to make and you beter sacrifice your newborn to RNjesus because if the game wants you to lose, you beter believe your going to lose.
Also the respawn system is unfair >:C


i made it to level 3 once, i havent been able to do it again since. i really dislike the speed and 1 tile jumps you have to do =/ i dont see how im going to beat all 5 levels for the reward..
its bad enough that i finally got to the 3rd boss in the other arcade game but only had one life left

You. can actually interact with those arcade machines? :misterghost:
i made it to level 3 once, i havent been able to do it again since. i really dislike the speed and 1 tile jumps you have to do =/ i dont see how im going to beat all 5 levels for the reward..
its bad enough that i finally got to the 3rd boss in the other arcade game but only had one life left


I actually had fun, until I ran into a bunch of poorly-spaced single block tracks. And every time I died, I’d respawn with the front wheels hanging off the forward edge of the track. Once it started moving, it was impossible to make the jump. All I could do was sit there and watch myself die over and over, spamming the click button desperately, until it all my lives were gone and I had to restart at level 1.
I quit at that point.
ETA: I credit any progress I made in that game to how many times I played through the minecart stage in the original Donkey Kong Country on SNES. 😛
Junimo Kart
Junimo Kart is a game playable on the arcade machine in The Stardrop Saloon. It is initially locked and requires the Skull Key to play. If you beat all six levels of «Progress Mode,» a Junimo Kart Arcade System will be sent to you the next day in the mail.
In the game, you play as a Junimo in a cart moving to the right side of the screen. The only control you have over the cart is jumping, with the left mouse button or space bar. Holding down the left mouse button or space bar will make the cart jump higher. Pressing p will pause the game. Along the way, you will encounter gaps or railway ends, as well as level-specific obstacles, which must be avoided by jumping. If you don’t jump at the right time or fall through a gap, you will lose a life. There are two modes in the game: Progress Mode and Endless Mode.
In Progress Mode, you start with 3 extra lives. When all lives are lost, your run will end. After completing a stage, your lives will be replenished up to a minimum of 3. Collecting 100 coins will also grant an extra life. Each level also has three pieces of fruit: Cherries, Orange, and Grapes. Each is worth 10 coins, and completing a level after having collected all three pieces of fruit grants another extra life (if you finished the level with fewer than 3 lives, this extra life is granted after your lives are replenished to 3). After finishing 6 levels, the game ends.
In Endless Mode, you have only one life; dying will end the run. Your score is tracked as you play, and you gain points by moving through levels. Each coin collected gives you 50 points, and collecting one of the three fruits grants 1000 points. You get 5000 points for finishing a level, and a bonus 5000 points at the end of a level for collecting all three fruits. You play through 8 levels in this mode (all except «. «), and after finishing the last level you continue from the first.
Some levels reuse existing background music, while others have songs composed specifically for them. Unless specifically noted, each level’s theme is named the same as the level itself.
Contents
Levels
Crumble Cavern
(Music: Mines (Crystal Bells), Mines (A Flicker In The Deep), or Mines (Star Lumpy) at random)
The first level is relatively straightforward; there’s the occasional falling boulder to worry about, but otherwise you just need to focus on jumping and grabbing coins/fruit. If you can’t completely avoid an obstacle, make sure you land on top of it (as hinted by the level’s title screen).
Slippery Slopes
(Music: Mines (Icicles), Mines (Marimba Of Frozen Bones), or Mines (Cloth) at random)
The second level is fairly well-previewed by its title screen: downward slopes are slippery, and there are a lot of independent upward slopes you’ll need to jump between. Sliding down slopes gives you extra speed, which translates into longer jumps, and can take some getting used to. Finishing this level in under 60 seconds will result in skipping The Gem Sea Giant and Slomp’s Stomp, and going straight to Ghastly Galleon.
This alternate second level has an empty preview screen with a title «. «. The path to this level is indicated by dots on the level map, and occurs at the wooden bridge between the rocky and ice areas. In order to reach this stage you must perfect clear «Crumble Cavern» without losing any lives, while also collecting all coins and fruit. The scenery is that of a dark cave covered in stalagmites and stalactites with a water floor. With no unique obstacles or boulders, clearing this level should be no extra challenge. This level does however contain a huge amount of coins, so make the most of reaching it by collecting as many extra lives as you can!
The Gem Sea Giant
The third level takes place underwater, causing you to fall slower. In addition, there’s a large whale on the right side of the screen that periodically spews bubbles at you, which (like all hazards) are fatal upon impact unless you land on top of them. Collecting coins/fruit may prove difficult (if not impossible) without jumping off the top of bubbles to reach high-up rails.
Slomp’s Stomp
This alternate third level is chosen at random. It’s somewhat an inversion of Slippery Slopes: each upward slope is sticky, and slows you down. Slowing down is actually a bad thing because a giant bouncing slime is chasing you—slow down too much, and it will catch up. This is the fifth level in Endless Mode.
Ghastly Galleon
On the fourth level, you move faster, meaning your jumps cover a larger distance and you have less time to react to what’s going on. This level has large gaps you will need to jump over, and some narrow platforms to land on. Additionally, there are ghosts which move in circular patterns and are fatal on contact, even when landed on.
Glowshroom Grotto
This level has pairs of giant purple mushrooms; riding on one causes it to lower and the other to raise upwards. You’ll need to be careful about how much time you spend on each in order to successfully reach the next rail. There are occasional smaller red mushrooms that shoot slow projectiles upwards; carefully jump through a gap in the pattern to avoid dying. There are also smaller purple mushrooms that you can bounce off of, similar to boulders and bubbles. This is the sixth level in Endless Mode.
Red Hot Rollercoaster
(Music: Mines (Danger!))
This alternate fifth level has, as the title screen suggests, lots of adjacent diagonal ramps, leading to potential confusion on where you should jump from. There are also falling boulders, like Crumble Cavern. It also has a tendency towards stretches of mostly empty space scattered with short sections of rail, requiring constant jumping to safely make it across. In Endless Mode, this is the seventh level.
Sunset Speedway
(No music, just nighttime sound effects)
The final level is full of short rails at widely scattered heights, making it very easy to slip off and fall to your doom. This is the eighth level in Endless Mode.
Junimo Kart

Junimo Kart is a game playable on the arcade machine in The Stardrop Saloon. It is initially locked and requires the Skull Key to play. If you beat all six levels of «Progress Mode,» a Junimo Kart Arcade System will be sent to you the next day in the mail.
In the game, you play as a Junimo in a cart moving to the right side of the screen. The only control you have over the cart is jumping, with the left mouse button or space bar. Holding down the left mouse button or space bar will make the cart jump higher. Pressing p will pause the game. Along the way, you will encounter gaps or railway ends, as well as level-specific obstacles, which must be avoided by jumping. If you don’t jump at the right time or fall through a gap, you will lose a life. There are two modes in the game: Progress Mode and Endless Mode.
In Progress Mode, you start with 3 extra lives. When all lives are lost, your run will end. After completing a stage, your lives will be replenished up to a minimum of 3. Collecting 100 coins will also grant an extra life. Each level also has three pieces of fruit: Cherries, Orange, and Grapes. Each is worth 10 coins, and completing a level after having collected all three pieces of fruit grants another extra life (if you finished the level with fewer than 3 lives, this extra life is granted after your lives are replenished to 3). After finishing 6 levels, the game ends.
In Endless Mode, you have only one life; dying will end the run. Your score is tracked as you play, and you gain points by moving through levels. Each coin collected gives you 50 points, and collecting one of the three fruits grants 1000 points. You get 5000 points for finishing a level, and a bonus 5000 points at the end of a level for collecting all three fruits. You play through 8 levels in this mode (all except «. «), and after finishing the last level you continue from the first.
Some levels reuse existing background music, while others have songs composed specifically for them.
Contents
Levels
Crumble Cavern
(Music: Mines (Crystal Bells), Mines (A Flicker In The Deep), or Mines (Star Lumpy) at random)
The first level is relatively straightforward; there’s the occasional falling boulder to worry about, but otherwise you just need to focus on jumping and grabbing coins/fruit. If you can’t completely avoid an obstacle, make sure you land on top of it (as hinted by the level’s title screen).
Slippery Slopes
(Music: Mines (Icicles), Mines (Marimba Of Frozen Bones), or Mines (Cloth) at random)
The second level is fairly well-previewed by its title screen: downward slopes are slippery, and there are a lot of independent upward slopes you’ll need to jump between. Sliding down slopes gives you extra speed, which translates into longer jumps, and can take some getting used to. Finishing this level in under 60 seconds will result in skipping The Gem Sea Giant and Slomp’s Stomp, and going straight to Ghastly Galleon.
(Music: No music, just wind ambience)
This alternate second level has an empty preview screen with a title «. «. The path to this level is indicated by dots on the level map, and occurs at the wooden bridge between the rocky and ice areas. In order to reach this stage you must perfectly clear «Crumble Cavern» without losing any lives, while also collecting all coins and fruit. The scenery is that of a dark cave covered in stalagmites and stalactites with a water floor. With no unique obstacles or boulders, clearing this level should be no extra challenge. This level does however contain a huge amount of coins, so make the most of reaching it by collecting as many extra lives as you can!
The Gem Sea Giant
(Music: Junimo Kart (The Gem Sea Giant))
The third level takes place underwater, causing you to fall slower. In addition, there’s a large whale on the right side of the screen that periodically spews bubbles at you, which (like all hazards) are fatal upon impact unless you land on top of them. Collecting coins/fruit may prove difficult (if not impossible) without jumping off the top of bubbles to reach high-up rails.
Slomp’s Stomp
(Music: Junimo Kart (Slomp’s Stomp))
This alternate third level is chosen at random. It’s somewhat an inversion of Slippery Slopes: each upward slope is sticky, and slows you down. Slowing down is actually a bad thing because a giant bouncing slime is chasing you—slow down too much, and it will catch up. This is the fifth level in Endless Mode.
Ghastly Galleon
(Music: Junimo Kart (Ghastly Galleon))
On the fourth level, you move faster, meaning your jumps cover a larger distance and you have less time to react to what’s going on. This level has large gaps you will need to jump over, and some narrow platforms to land on. Additionally, there are ghosts which move in circular patterns and are fatal on contact, even when landed on.
Glowshroom Grotto
(Music: Junimo Kart (Glowshroom Grotto))
This level has pairs of giant purple mushrooms; riding on one causes it to lower and the other to raise upwards. You’ll need to be careful about how much time you spend on each in order to successfully reach the next rail. There are occasional smaller red mushrooms that shoot slow projectiles upwards; carefully jump through a gap in the pattern to avoid dying. There are also smaller purple mushrooms that you can bounce off of, similar to boulders and bubbles. This is the sixth level in Endless Mode.
Red Hot Rollercoaster
(Music: Mines (Danger!))
This alternate fifth level has, as the title screen suggests, lots of adjacent diagonal ramps, leading to potential confusion on where you should jump from. There are also falling boulders, like Crumble Cavern. It also has a tendency towards stretches of mostly empty space scattered with short sections of rail, requiring constant jumping to safely make it across. In Endless Mode, this is the seventh level.
Sunset Speedway
(No music, just nighttime sound effects)
The final level is full of short rails at widely scattered heights, making it very easy to slip off and fall to your doom. This is the eighth level in Endless Mode.
Please log in or register
To enjoy the benefits of Nexus Mods, please log in or register a new account
Better Junimos
File information
Last updated
Original upload
Created by
Uploaded by
Virus scan
Tags for this mod
About this mod
Significantly improve Junimos: automatically plant crops, fertilize, work for a fee, increase range, and more!
This mod does not have any known dependencies other than the base game.
Mods requiring this file
Author’s instructions
Do whatever you want. My mods are MIT licensed.
File credits
This author has not credited anyone else in this file
Donation Points system
This mod is opted-in to receive Donation Points
Better Junimos
Finally a mod to improve Junimo huts to make them worth it!
Significantly improve Junimos: automatically plant crops, fertilize, work for a fee, increase range, and more!
Features
Plant crops, fertilize, water plants, harvest forage, clear dead crops, avoid flowers
Add many new capabilities to your junimos!
Place seeds/fertilizer in your JunimoHut chests and the Junimos will automatically fertilize any open tilled spot and plant your seeds for you!
Junimos will also automatically water plants, harvest forage, and clear dead crops.
You can prevent Junimos from harvesting flowers (convenient for Bee Houses!)
Leaf Umbrellas and work in rain
Adds leaf umbrellas to Junimos when it is raining (Thank you to @ParadigmNomad for the incredibly cute assets)
Pay your Junimos (feel less guilty!)
You can now pay your Junimos! Set a small configurable item fee for their labor.Place their requested item (e.g. a foraged item or fruit) in their chest, and the Junimos will start working
Increase working area, work faster, and work later
You can increase the area/radius that the Junimos will work and wander in
You can also optionally make the Junimos work (plant, harvest) slightly faster
Junimos can now optionally work until midnight instead of 7pm
Increase number of Junimos
You can increase the max number of Junimos that will spawn at one time. WARNING: do not set too high or your game will crash
Configure
«JunimoAbilities«: < # extra things Junimos can do
«Fertilize»: true, # should the Junimos fertilize for you
«Water»: true, # should the Junimos water plants for you
«PlantCrops»: true, # should the Junimos plant crops for you
«HarvestCrops»: true, # should the Junimos harvest crops for you
«HarvestForageCrops»: true, # should the Junimos harvest forage items
«ClearDeadCrops»: true # should the Junimos clear your dead crops
>,
«JunimoHuts«: < # improvements to Junimo Huts
«MaxJunimos»: 3, # set the max amount of Junimos that can spawn at once
«MaxRadius»: 8, # set the area/radius that the Junimos will work and wander in
«AvailibleAfterCommunityCenterComplete»: true, # unlock Junimo hut earlier
«AvailibleImmediately»: false, # immediately unlock Junimo hut
«ReducedCostToConstruct»: true, # make Junimo hut cost less
«FreeToConstruct»: false # make Junimo hut free
>,
«JunimoImprovements«: < # upgrades to Junimos
«CanWorkInRain»: true, # should the Junimos work even when it’s raining
«CanWorkInWinter»: false, # should the Junimos work in winter
«CanWorkInEvenings»: false, # should the Junimos work even after 7pm
«WorkFaster»: false, # make your Junimos work a bit faster
«AvoidHarvestingFlowers»: true # prevent harvesting of flowers (good for Bee Houses)
«AvoidPlantingCoffee»: true # prevent planting of coffee beans
>,
«JunimoPayment«: < # pay your junimos
«WorkForWages»: false, # should your Junimos work for payment?
«DailyWage»: <> # what should they be paid (in the Junimo hut chest) every day?
>,
«FunChanges«: <
«RainyJunimoSpiritFactor»: how spirity should Junimos become in the rain (1.0=not transparent)
«JunimosAlwaysHaveLeafUmbrellas»: false, # the cutest thing ever, always
«MoreColorfulLeafUmbrellas»: false, # less green hats
«InfiniteJunimoInventory»: false # can give Junimos infinite seed packets/fertilizer
>,
«Other«: <
«SpawnJunimoKeybind»: «J», # change the key to press to spawn junimos
«ReceiveMessages»: true # prevent any messages about your junimos (including payment reminders)
>
Paying Junimos
In the config.json «WorkForWages» to true, and then decide how you want to pay them. The default is 1 foraged item per day, but you can also pay them in flowers, fruit, and/or wine. Just enter the amount of each you want to pay them per day. Then, in the game, click on the junimo hut as if you were retrieving harvested crops, and place the payment inside. If it’s the correct payment, a message will pop up saying that the junimos are happy with their payment, and they will get to work. You can also pay them for multiple days at a time if you don’t want to do it every day.
Thanks to sunnrock for this explanation!
Future (based on what YOU say you want in the comments) — Junimos should be paid (a small item fee for their work)— Increase range
— Increase speed
— Increase amount
— Harvest forage
— Clear crops
— Prevent harvesting flowers
— Add way to get Junimo Huts earlier
— Blacklist items for planting/harvesting
— Water your plants
— Work late
— Work in winterr
— Pet your animals
— Scare off crows
— Open/close your barn/coop doors
— Collect random in-season forage items
This mod is compatible with Better Fruit Trees which allows Junimos to harvest fruit trees!
**Requires the latest version of SMAPI and SDV 1.3+**
Feel free to Chat on Discord if you have any issues or ideas!
Check out my other mods
Stardew Valley – Junimo Kart Progress Mode Guide (Update 1.4)
With the 1.4 update Junimo Kart got a major update and is now “ACTUALLY FUN” lets see if this is true and see if this game has some secrets that aren’t even touched on on the Wiki! This covers all the new and old levels, the mechanics and subtleties as well as as much actual help as possible.
1.4 Junimo Kart Progress Mode Guide
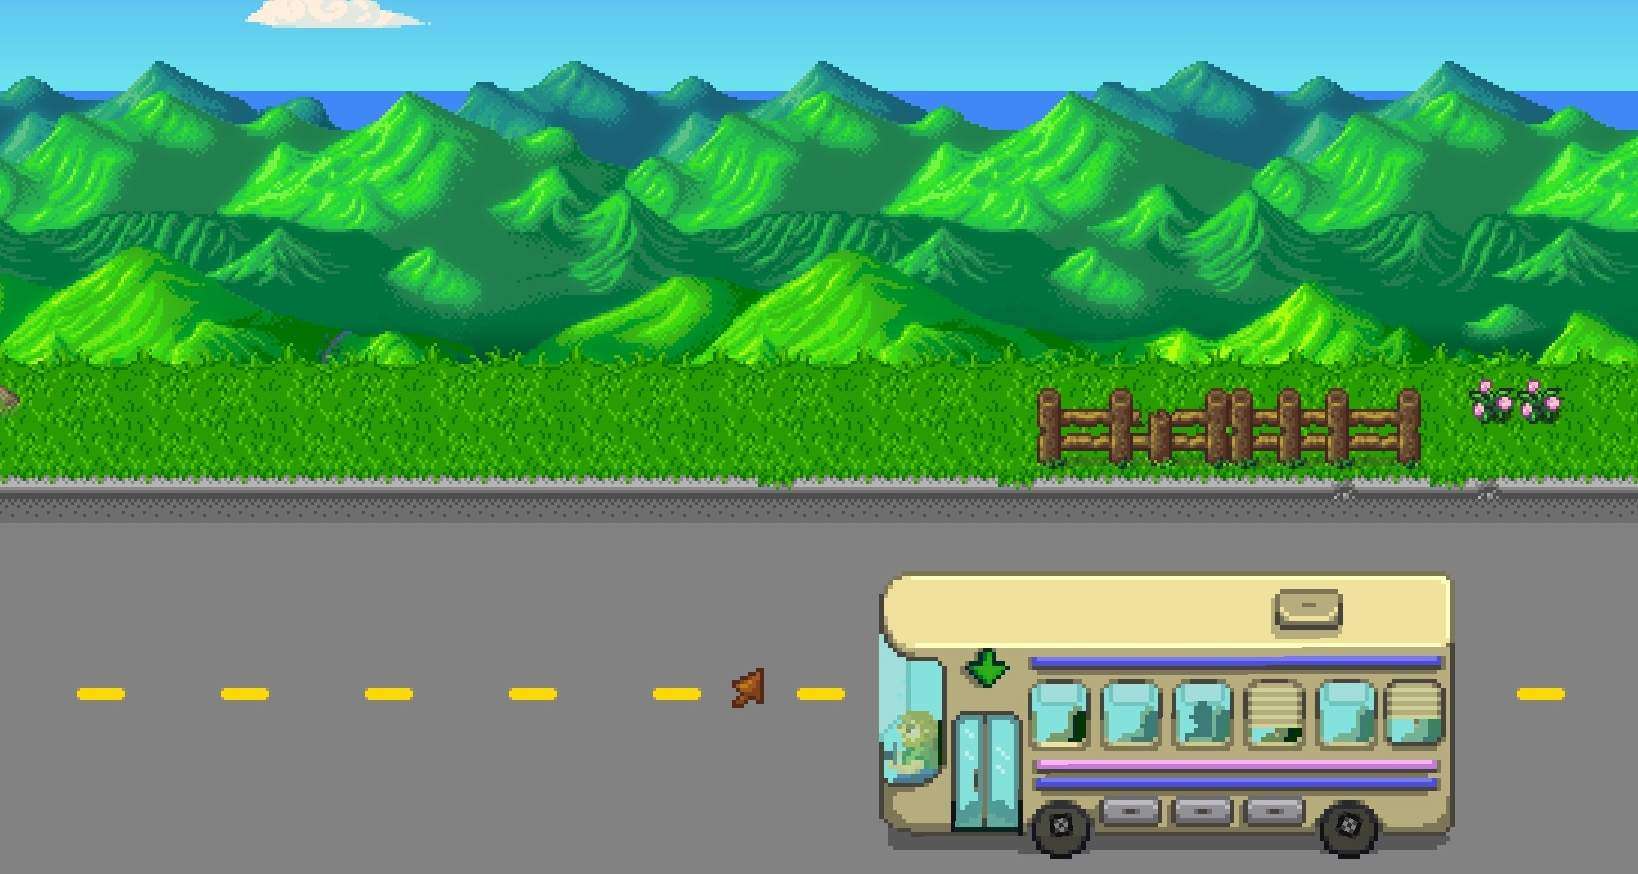
Where is it and how do I play it?
I’m honestly surprised you even knew enough to find this guide if you didn’t know about this game already. Junimo Kart is located on the right side of the Stardrop Saloon, right beside the Prairie King arcade system. Unfortunately it starts LOCKED for some unknown reason, and you will have to get all the way to floor 120 of the mines and acquire the Skull Key before you can even start playing. Great. I guess come back after about
5 hours of gameplay, maybe more. Or just check your inventory which probably already has the skull key and stop reading this, skip on down to whatever stage is giving you trouble and get on with your life.
Crumble Caverns
Or, holy hell this is harder than I expected!
Yeah, by this point you’ve (probably) beaten journey of the Prairie King and while that game is difficult, it’s relatively beatable. Junimo kart has a LOT of randomness, and never really slows down. But that said with the right tactics and skill it’s just as beatable. (Minus getting boned by an unbeatable stage, which happens OCCASIONALLY.)
The first level is sedate in comparison to the others, so this is where you’ll learn the basics, first and foremost, the core mechanic here is jump height.
Actual ‘Crumble Cavern’ mechanics.
There is really only one ‘gimmick’ that the first level has, even though other levels have this mechanic. BOULDERS fall from the ceiling, or rather somewhere far above where you can see. Like a lot of mechanics, the cycle they fall on depends a lot on your starting point, if you die to one, you will often face a boulder in a completely different position when you get back to where you died. Otherwise they’re pretty easy, don’t get crushed. Big whoop. Most often though you’ll die because of crashing into a boulder that has just collided with the track, so make sure to do a little hop even over a boulder that seems like it should be below the track.
Secrets!
If you manage to get every gold coin and fruit, and not die on this first level, you’ll be sent to a ‘bonus stage’ this level is mostly un-noteable, though it does replace the next level for better or worse, and is easy overall if you have trouble with Slippery Slopes. Honestly getting to this level at all is harder than most stages when it comes right down to it.
Slippery Slopes
Or, Speed is NOT key!
Dealing with Slippery Slopes
But why don’t I want to die?
I’m sure you’re asking. After all, you have THREE whole lives. maybe four! Well you don’t want to die because you want to stock up your lives on these easier levels. Because they keep getting harder. Now that you’ve gotten through the first two levels, let’s talk about lives.
Extra lives mechanics.
The first branch, Wow!
Or, Where’d the Boss Go?
After Slippery slopes there are (if you look closely) three routes for your kart to go. Most often you’ll be sent direct to the Gem Sea Giant, a boss fight with bubbles and underwater nonsense.
Seemingly randomly you’ll be sent to Slomp’s Stomp, a sticky opposite to Slippery Slopes, where you try not to slow down and get crushed under a gelatinous rump. This is less frequent than being sent to the Gem Sea Giant.
OR, you can be cool and good at the game, if you don’t die in Slippery Slopes. You then skip all that nonsense and go straight to Ghastly Galleon (a level hidden under the pirate ship). Which would have been the fourth stage but is now the third!
Gem Sea Giant
Or, If you can’t hear the boss music yet, you’re not trying hard enough.
Thankfully you don’t need to kill a whale by grinding it under your minecart’s wheels. You just need to avoid the big guy’s bubblebeam attack. And not get killed because of the float-y mechanics in this stage.
Keeping your life count High
Unfortunately due to the randomness of the bubbles it’s not difficult to lose multiple lives on this stage, thus it becomes paramount to gather up fruit so you can atleast have one extra going into Ghastly Galleon (the next stage). Fruit here tend to spawn way up above the stage where they are unreachable unless you’re bouncing on bubbles very precisely, great! If you use a keen eye you may also spot checkpoints high above the stage as well, and it is not always a bad idea to take a dive here and death-warp up to a fruit.
Slomp’s Stomp
Or, ‘Boss Music Intensifies’
That one tricky bit of track..
The track generation here and in other levels can have some predictable elements, for whatever reason you see a lot more here than elsewhere. You will not infrequently see track that splits just before a large jump, leading to some confusion over whether you should jump before the low point or fall, uncertain of if you will even connect with the track. This notable bit of track has one downward slope followed by two to three sections of flat ground, and you can always just let yourself fall down to it, until you reach Ghastly Galleon, at which point this section is always lethal (and sometimes impassable).
Ghastly Galleon
Or, Suddenly I am SO FAST.
As opposed to the sedate pace of the previous levels, the most immediate change is a massive (possibly double) increase in speed. You can certainly jump twice as far at the very least. This level almost lets you get used to it, then dunks your head in the sand and decides ‘no actually, you literally can’t win.’
Second branch, not same as the first!
This time I’d say there’s about a fifty-fifty shot at either of the two next levels. With perhaps a slight preference for Red Hot RollerCoaster, over Glowshroom Grotto. I have not found any other paths that skip these two atrocities of levels, so buckle up, kids.
Red Hot Rollercoaster
Or, People Die When They Are Killed.
Glowshroom Grotto
Or, You’re Already Dead.
Final Level, Sunset Speedway
Or, Pothole City.
This level is honestly a very nice distillation of mechanics, as there are none. No gimmicks, atleast not like other levels. No falling objects. No Boss battle. No mushrooms. Just one CATASTROPHICALLY messed up track. Like.. it’s hard to at first even glean any pattern.
Instead, pretend there are EVEN FEWER platforms, use medium and max height jumps like you would on either previous level (Red Hot Rollercoaster, for example) to jump between platforms at more substantial distances, you will skip many coins and sections of track this way. But I have found this to be much more reliable than attempting to only take the minimum jumps that the level would otherwise require.
For example staircase sections are fairly common, but hard to execute reliably, instead jumping up to the middle and then the top is generally more successful.
Other than that, merely try to stay near the top of the stage, and pull out your best skills at the basic mechanics, the checkpoints are unreliable, but only to a certain extent. The only semi-lethal trap the generation can give you is a checkpoint with a pit right infront of it, killing you if you don’t jump instantly after respawning.